Hey lovelies,
It's time for a tutorial! Emma from For My Little Monster was one of my Bookbag Backpack pattern testers, and she added a really great zipped pocket onto the front of hers. I've asked her to share it with us on the blog, so here it is!
Mrs H x
p.s. This post contains affiliate links
Hi Everyone!
It's lovely to be here on Samantha's Blog again :)
For those of you that don't know me...my name is Emma and I blog over at For My Little Monster.
I have been sewing for around 5 1/2 years, I have tested a few of Samantha's bag patterns before their release over the last year and a bit. Earlier this year I released my 1st sewing pattern, and since then I have released a few more too :)
Anyway, enough about me!
Today I'm going to show you how to add a front zip pocket to your Bookbag Backpack.
Let's get started...first and foremost you will need the pattern, it can be purchased HERE.
Then, when doing the cutting of your fabric, you will need to make some adjustments...
- You will only need to cut ONE x L - Zippered pocket and medium weight interfacing.
- You will need to cut the following extra pieces from fabric:
- You will also need to substitute one of the 7" zips with a 12" one.
If you don't have a 12" zip you can cut a longer one down to size, like I have (see picture below), but be sure to add 1" extra for a seam allowance...AND remember to stitch up the end so the zipper pull can't fall off the zip when you open it!
Ok so, for the purpose of this tutorial, we will be using 1 x A Main Body and both pattern piece B Front Pocket, outer and lining (pre-prepared with all recommended stabilisers).
Prepare the zip
1. Start by sewing the opening of the zip together to keep it from separating when you open the zip.
2. Trim down the excess zip tape (leaving a 1/2" seam) at the opening. Also trim the excess tape down at the closing (if you haven't had to adjust the zip like I did).
3. Take one of the Zip Tab Ends, fold in half (lengthwise) and press.
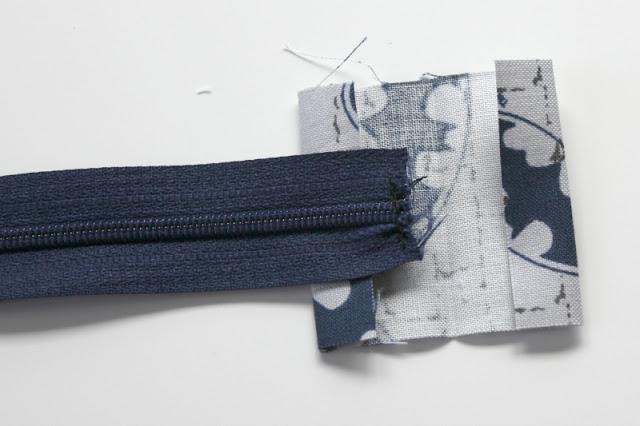
4. Unfold. Now, fold one raw short edge a 1/2" towards the center pressed line, and press. Repeat the for the second raw short edge.
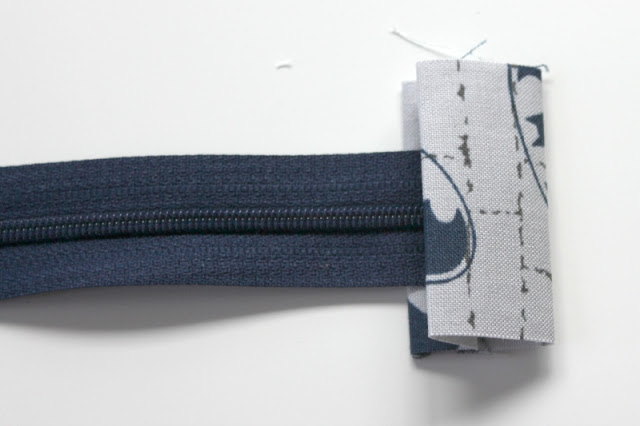
5. Place the zip inside the Zip Tab End. Position the zip on the pressed line, and side centred. Then fold the zip end down to cover the zip and sew in place using a 1/8" seam allowance.
6. Once sewn, trim the Zip Tab Ends to be the same size as your zip tape (see picture below).
Some are wider than others, often the Zip Tab Ends need trimming down
when working on a project, as designers need to accommodate for these differences.
Repeat steps 3 - 6 for the other end of your zip.
Create your front pocket
7. Place your external front pocket (B) right side up in front of you, then place the zip on top, zip pull side face down.
8. Next, place the front pocket lining (B) right side down on top. Using a 1/4" seam, sew the 3 layers together (external pocket, zip, and lining).
9. Fold the exterior and lining so that they are wrong sides together and press.
10. Topstitch along the pressed seam, using a 1/8" seam allowance.
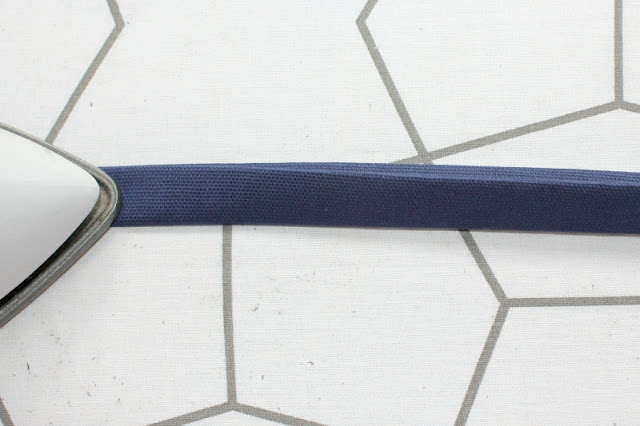
13. Refold the on the centre pressed line, ensuring that the folded raw edges are tucked inside, and press well.
14. Place the exposed edge of the zip within the binding you have just created. Pin or clip in place, then sew using a 1/8" seam allowance, to secure the binding to your zip.
16. Trim the excess from the binding.
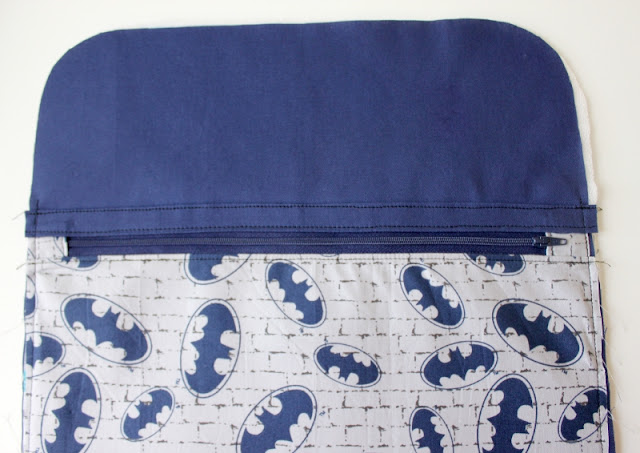
17. Sew the top edge of the binding to your Main Body (A), using a 1/8" Seam allowance.


