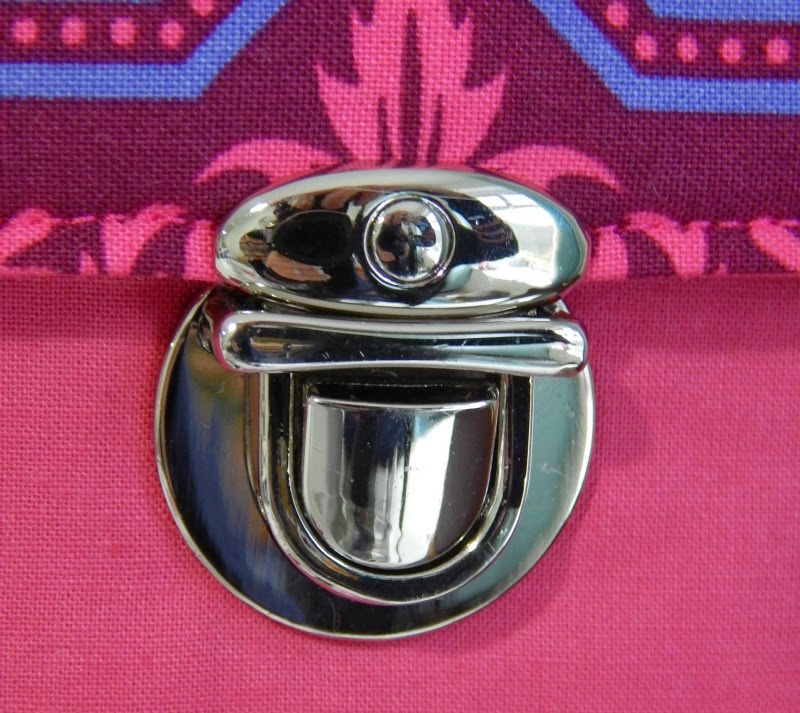
Whatever it is you call them, these little beasties add an extra bit of bling to your bag, and they're incredible easy to use. If you can use a pen & a stabby thing (aka awl), you can fit this!
First of all you need to gather your components. Your fully finished flap. Sewn, turned right side out, pressed, top stitched (if you wish). You'll also need your thumb catch, a fabric marker, an awl and a scrap of fleece. Oh, and a tiny screwdriver. I got mine out of a Christmas cracker!!
Firstly unscrew the little screws on the back of the catch. I call this the male part and the holder the female part. Make sure you keep the tiny screws handy and don't lose them, they're incredibly small!
Push the male part onto the flap where you want it (usually in the centre) and mark the holes with your fabric marker.
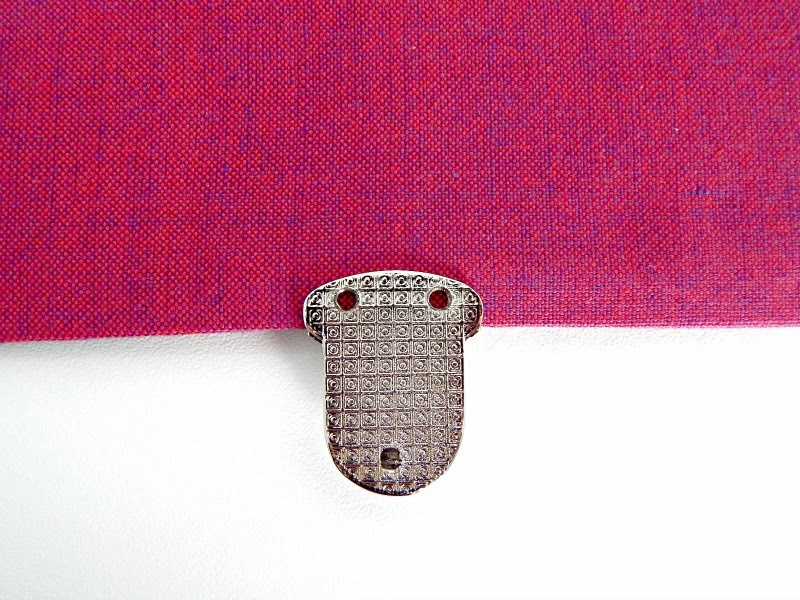
Don't you think the back of this part looks like a little doggy face? I'm going to call this part Gwen after the doggy of the wonderful Kerry who sent this fabric to me. (Apart from me calling it the male part and Gwen being a girl's name!)
Using an awl or other sharp implement, poke a hole through all layers of your flap where you've marked the holes.
Try not to stab yourself!

Slot Gwen (the male part) back onto the flap lining up the holes and insert the tiny screws. You may wish to use a bit of fray-check or fabric glue to keep these screws in place & tight forever.
This is what the front of your flap with Gwen will look like when this part is done.
Now you'll want to hold it against the bag front, to make sure you're putting the female part in the right place.
Using the back washer, mark the slits with your fabric marker and then cut through them. I use either my craft knife or tiny snip scissors.
Make some corresponding slits on a scrap of fleece.
Thread the prongs of the female part through the outer fabric, add the scrap of fleece, then the washer and bend the prongs down on the back to hold it all in place.
This will pull slightly on your fabric as it's so heavy so you may wish to press your fabric before starting (do as I say, not as I've done!) and add some fray-check to your washer slits.
That's all there is to it and any variations on these tongue locks are not hard to work out from here on in.


Margaret Goldie
posted on 2 Aug 2018 14:49:30Thank you