This tutorial uses The Nappy Bag sewing pattern, available from: www.mrs-h.com/the-nappy-bag-pattern.html
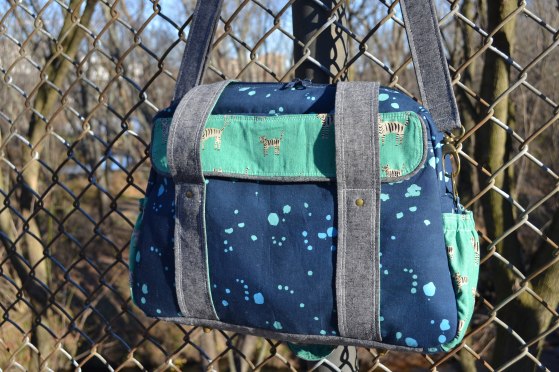
Hi! I'm Crystal of the Cloth Albatross. Samantha has so generously invited me to guest blog for her. I'm going to go over a few ways to customize her Nappy Bag pattern (i.e., create an accented base panel with purse feet, add an accent fabric to your short handles, and add a zippered compartment to the back slip pocket). In addition to the supplies listed in the Nappy Bag pattern, you will need:
- 15.5" x 4.5" piece of Peltex or Timtex
- (4) Purse Feet
- FabriTac (optional)
- Seam Sealant (e.g., Fray-Check)
- 1/4 yd Lining Fabric
- 1/4 yd Accent Fabric
- 14" Zipper (This will give you a total of 4 zippers.)
- Magnetic Snap (only needed if replacing hook and loop tape;this gives you 2 total magnetic snaps)
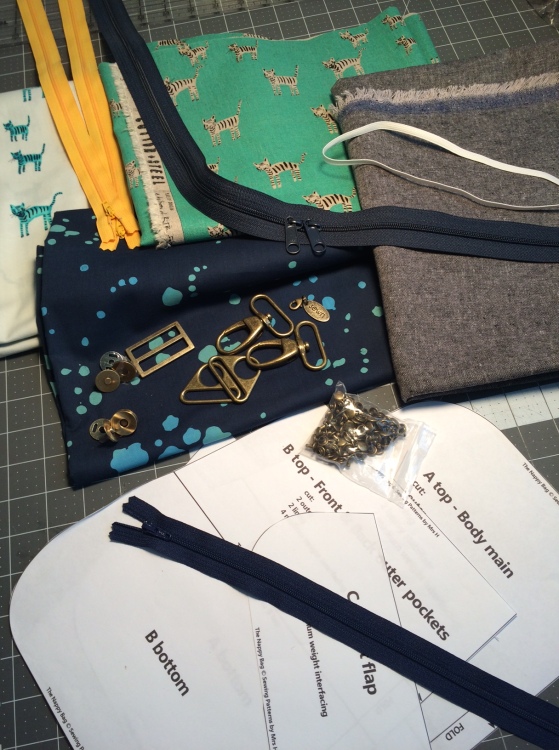
After all of your supplies are gathered, turn to page 3 of the pattern to make the following changes: Step B: cut (4) lining (rather than 2) from the back pocket pattern piece; in addition cut (4) 1.25" x 2" exterior fabric (for zipper tabs) Step E: cut all pieces as directed except for outer fabric. For outer fabric - cut (1) 14" x 5.5" accent fabric, cut (2) 8.75" x 5.5" exterior fabric, cut (1) 14" x 5.5" woven interfacing; cut (1) 15.5" x 4.5" Peltex or Timtex Step G - Short Handles: cut dimensions are 44" x 2.5"; cut (2) exterior fabric, cut (2) contrast fabric, cut (4) woven interfacing. This will give you short handles with a finished width of 2" rather than 1.5". (The wider width is to make tube turning easier.) Follow Stabilizer instructions except we will wait to attach our foam interfacing to the outer gusset.
Creating Accented Short Handles 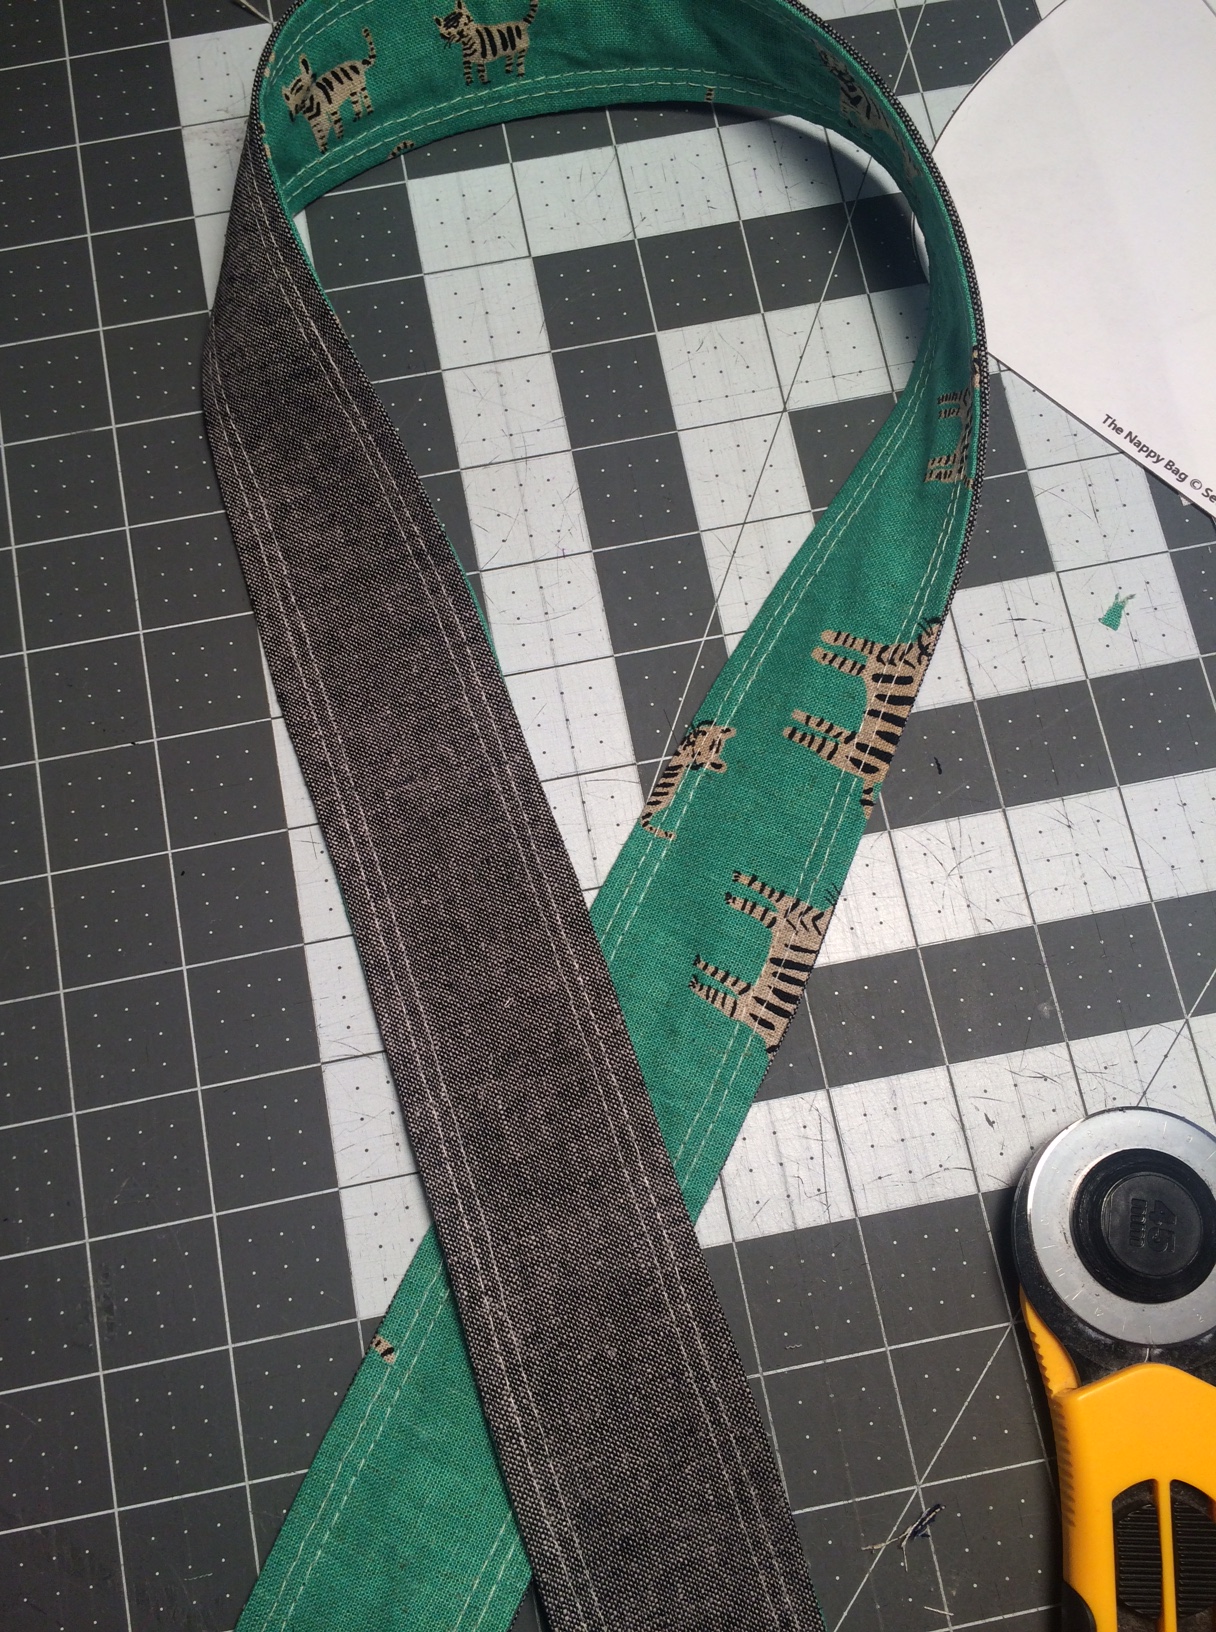 On page 4, skip instructions under "Create Short Handles" and use the following steps. To make the accented short handles, get fabrics from step G. If you haven't already, fuse interfacing to all 4 pieces. Take (1) exterior fabric and (1) accent fabric and place right sides together (RST). Using a 1/4" seam allowance (SA), sew along both 44" sides, leaving the ends open. Make sure to backstitch well at both ends, as turning the tube will put a lot of pressure on those end seams. Press well and turn fabric tube right side out. You can use a tube turner or a chopstick in this step.
 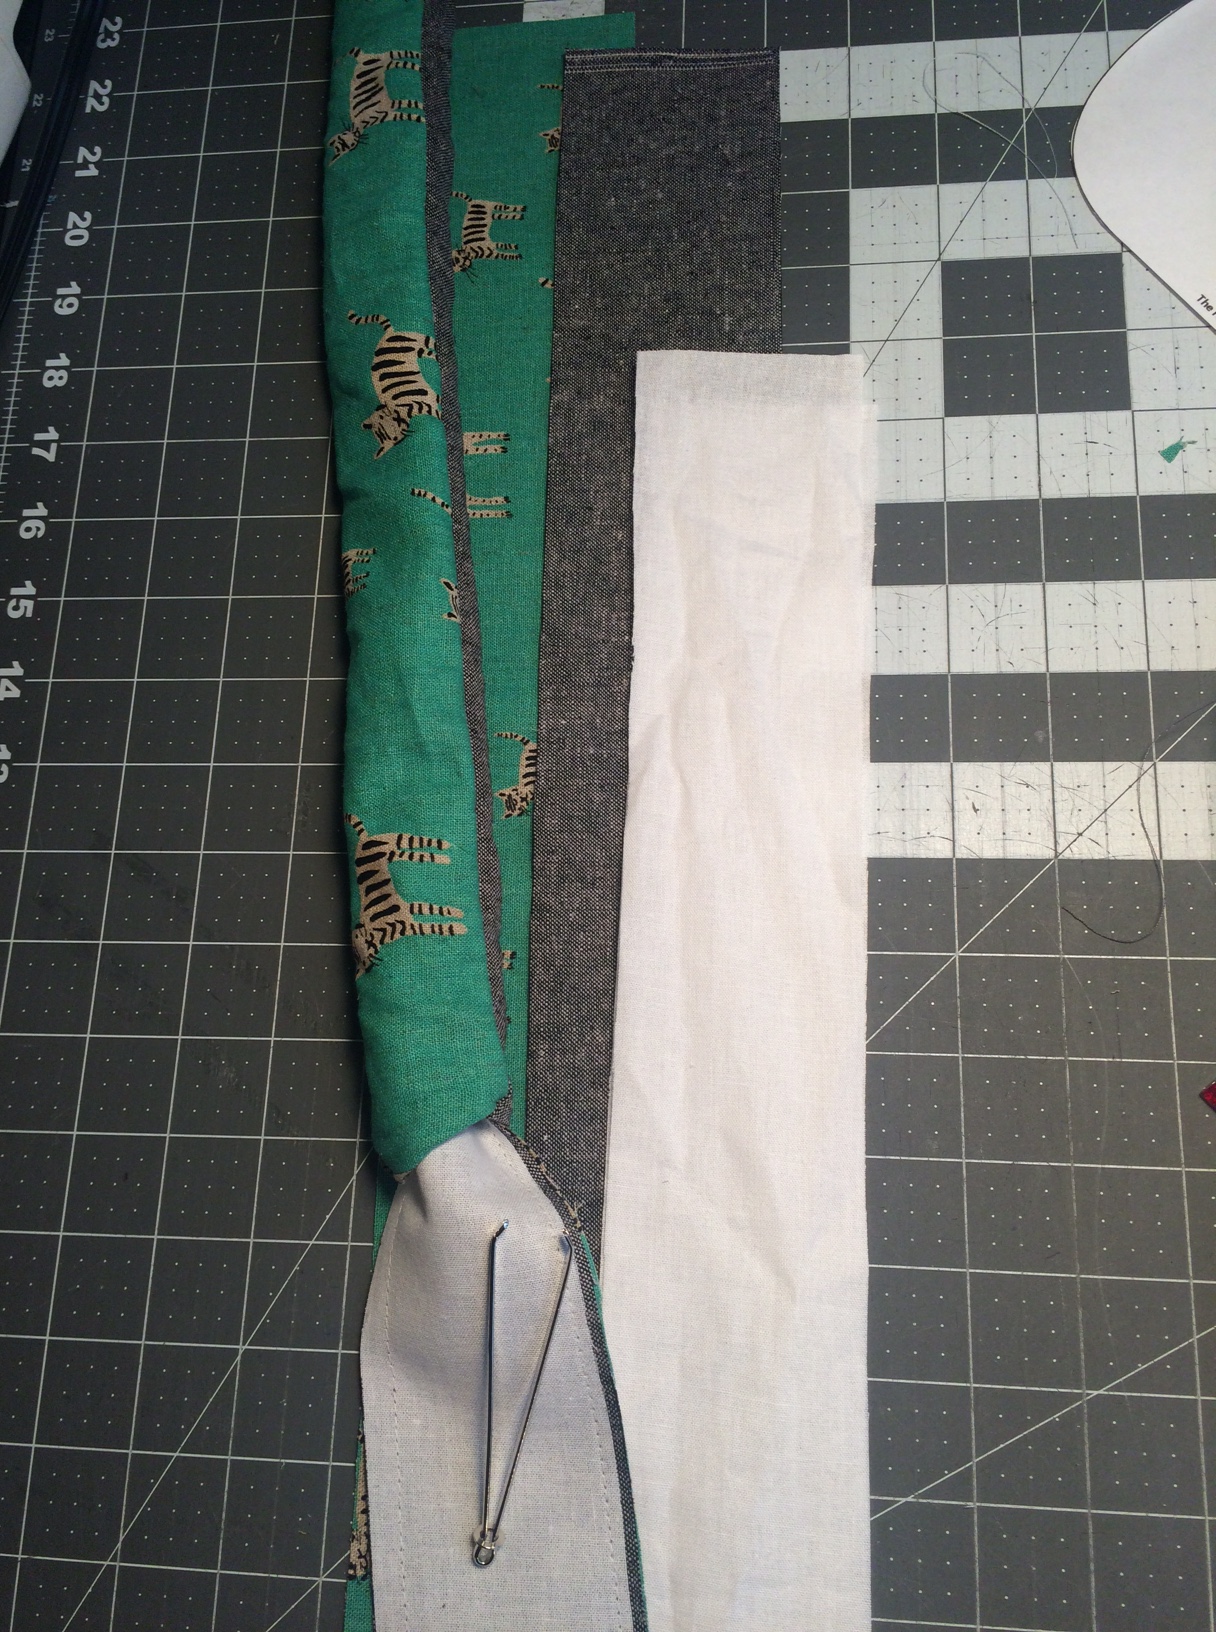 After your tube is turned right side out, press again. Roll the seam edges between your fingers to ensure the fabric isn't folded over on itself. This will give you nice, crisp edges. Topstitch 1/8" from both long edges. If desired, add an extra row of topstitching at a 1/4" from edge. Repeat these steps with other exterior and accent fabric pieces. Set both of your short handles aside. Resume pattern directions at "Create your long shoulder strap." If you've made an adjustable crossbody strap before, you may be tempted to skip these instructions altogether. But don't! Samantha has a great trick for reducing bulk in your strap ends. I use it for every adjustable strap I make now.
Construct the zippered back slip pocket
When you get to page 7, step 24, use the following steps to construct your zippered back slip pocket. You should have (4) of pocket pattern piece B. There will be 2 interfaced pieces and 2 pieces without interfacing. The pieces without interfacing will be the lining of your zippered slip pocket. 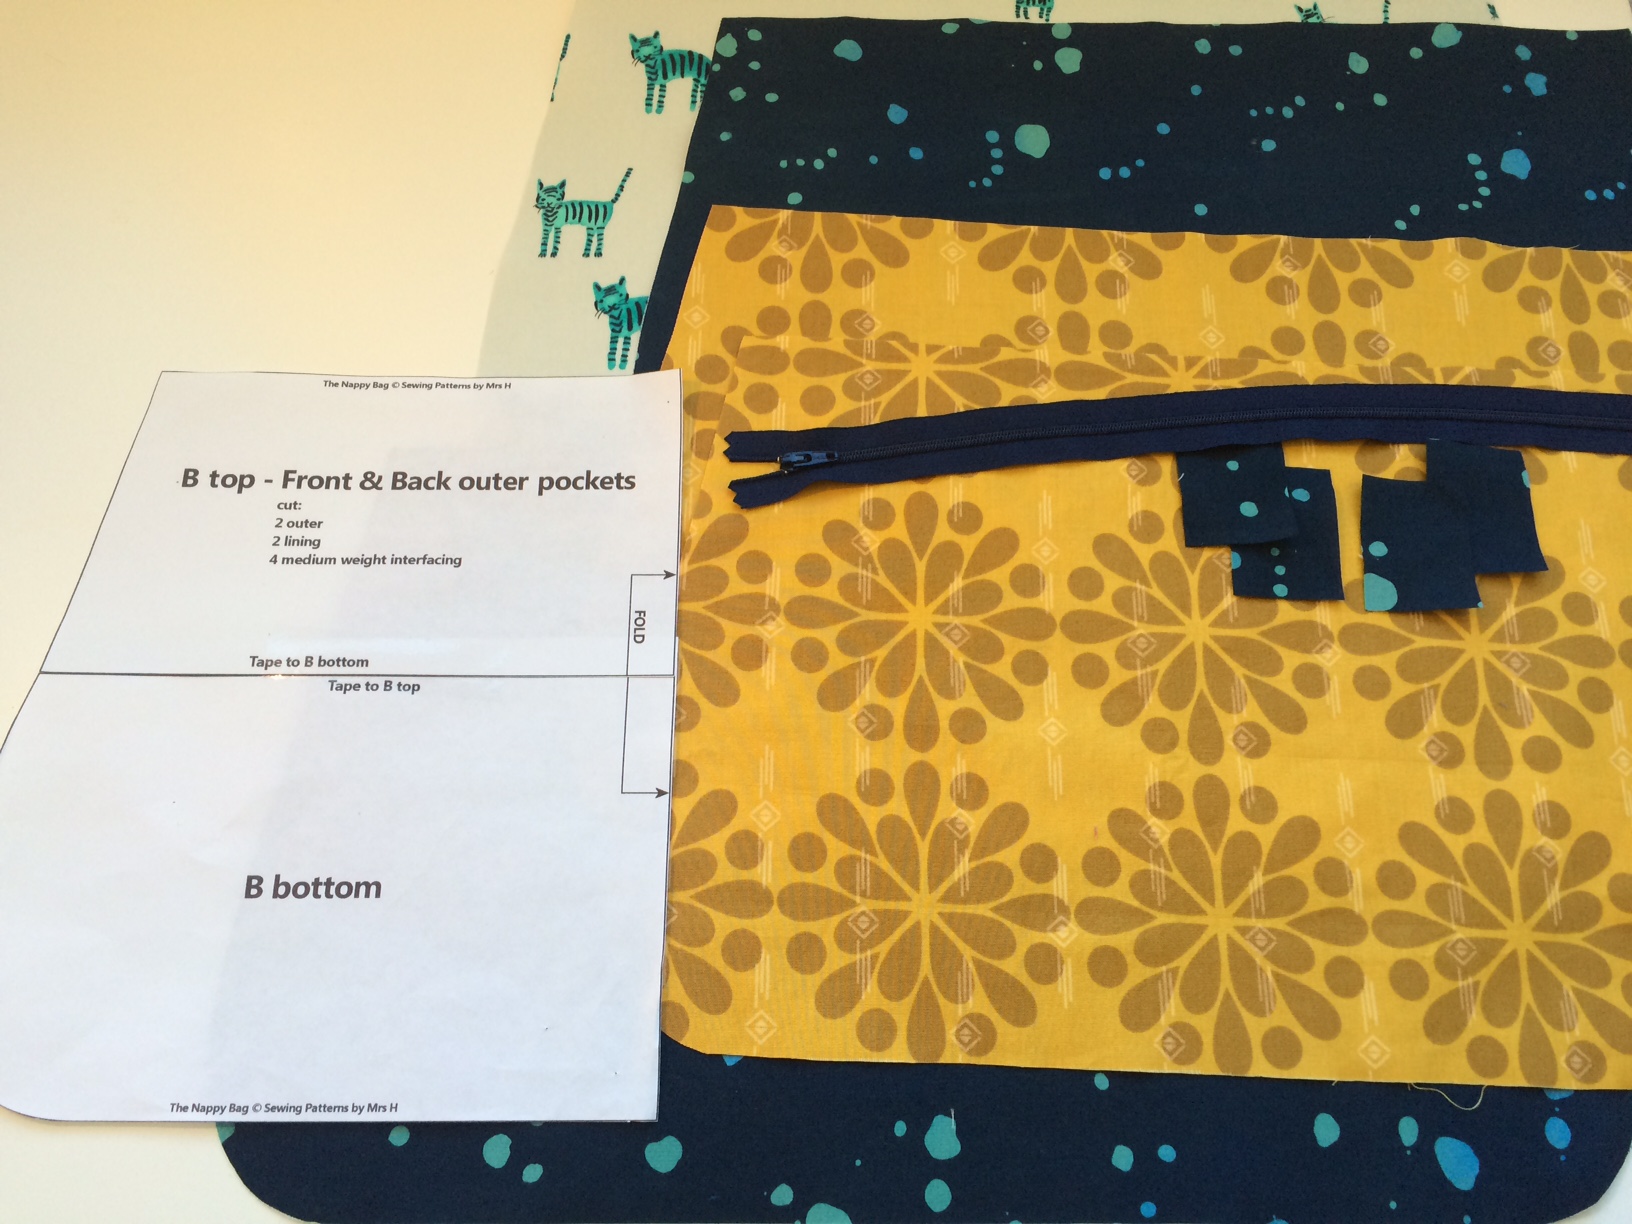 Place the interfaced lining piece face down on your work surface. Make a mark 1" below the top center of your pocket piece. Take a scrap of fleece and fuse it on top of the mark that you just made. Make sure that the piece of fleece is small enough that it stays out of a 1/4" SA. I usually cut my scrap of fleece in a circle so that it doesn't leave a well-defined mark on the right side of the fabric. After your fleece is fused, remark 1" down from the center onto the top of the fleece. Center your magnetic snap back onto the fleece and mark the prong placement. Using a seam ripper, cut slits where the prongs will go. Dab Fray-Check on the right side of your fabric where the slits are so that your fabric doesn't get a run in it when you push your magnetic snap through the holes.
 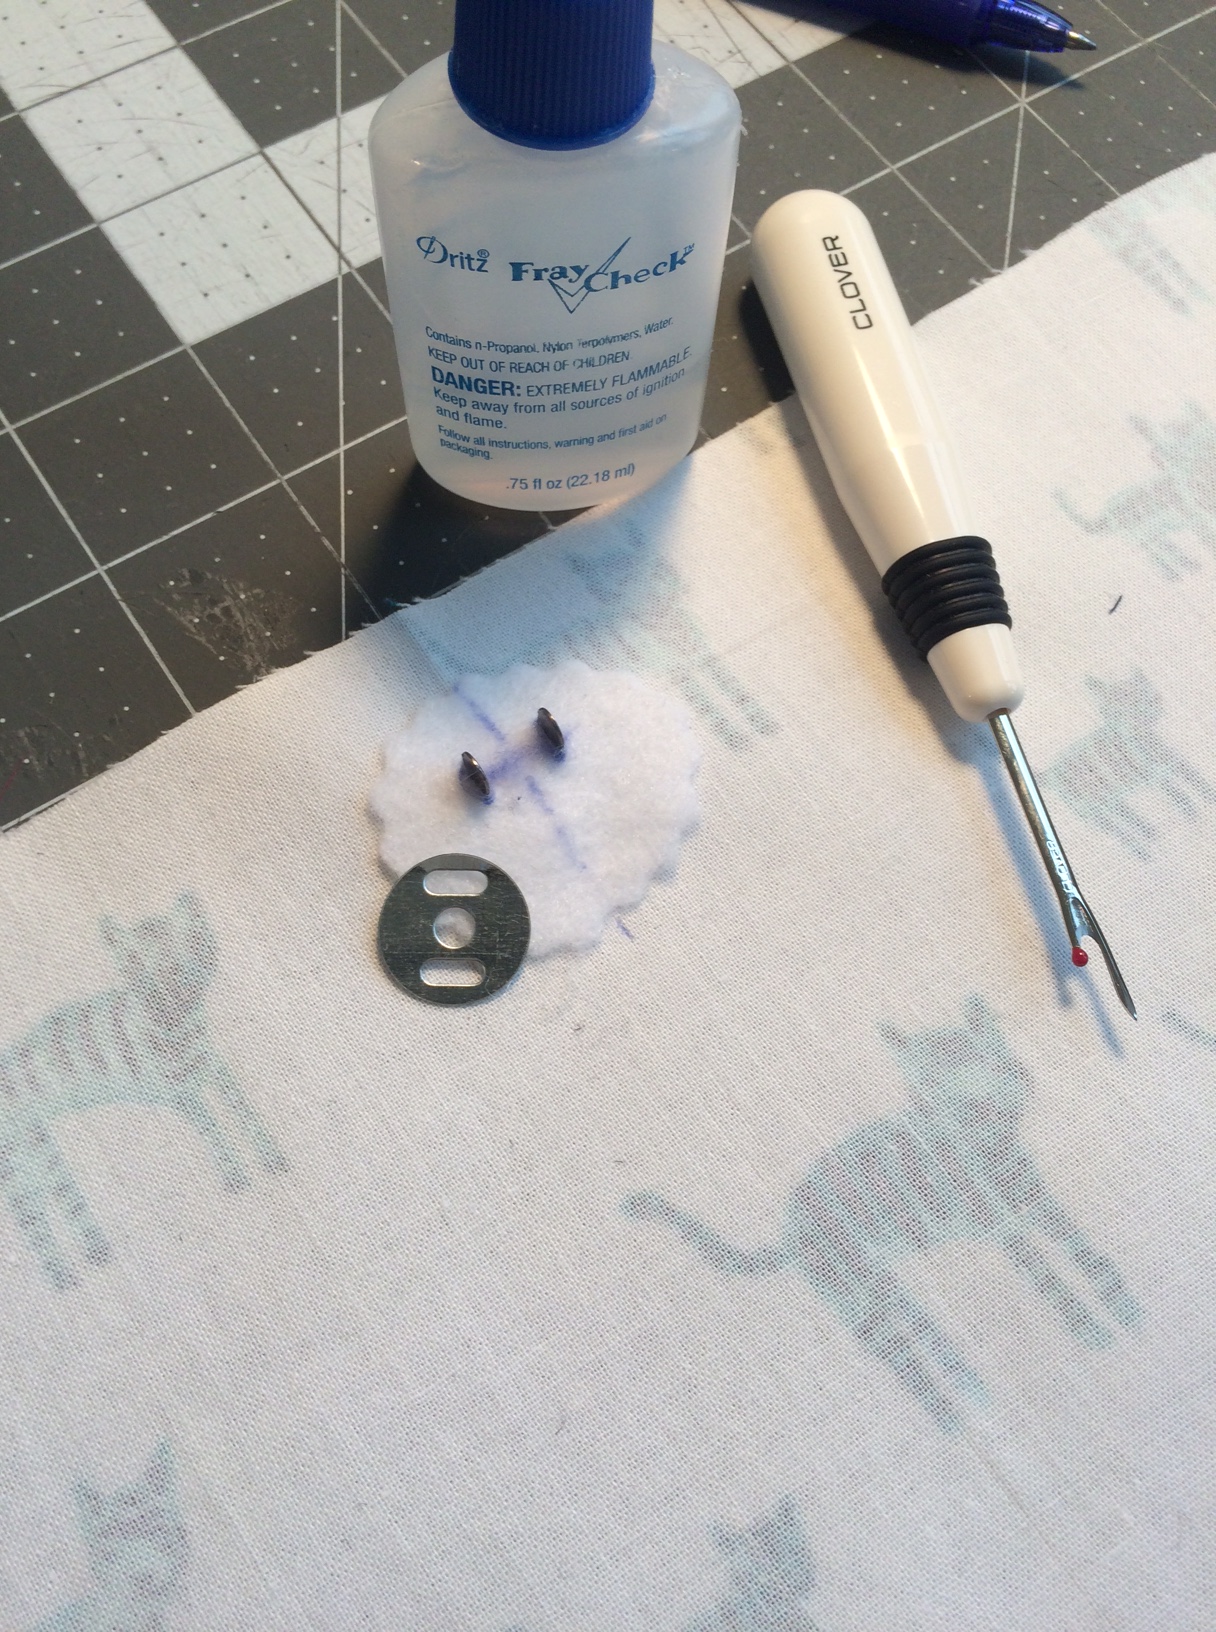 We won't be using any piping on the top of the pocket edge since that's where we're installing our zipper. Now we need to prep our zipper. Take your 14" zipper and trim it to 13.5", ensuring that you cut off both metal zipper stops so that they don't get in the way while sewing. Zippers tend to fray, so I cut them with a pinking blade and then generously coat the ends with Fray-Check. Stitch over the zipper ends (within a 1/4" SA) to make sure you don't pull your zipper off of the teeth.
  You should have (4) 1.25" x 2" zipper tabs that you cut in step B. Take one zipper tab, right side up and place the zipper on top of it. Then place a zipper tab right side down on top of the zipper. Fabric - zipper - fabric (with right sides of fabric facing the zipper).
 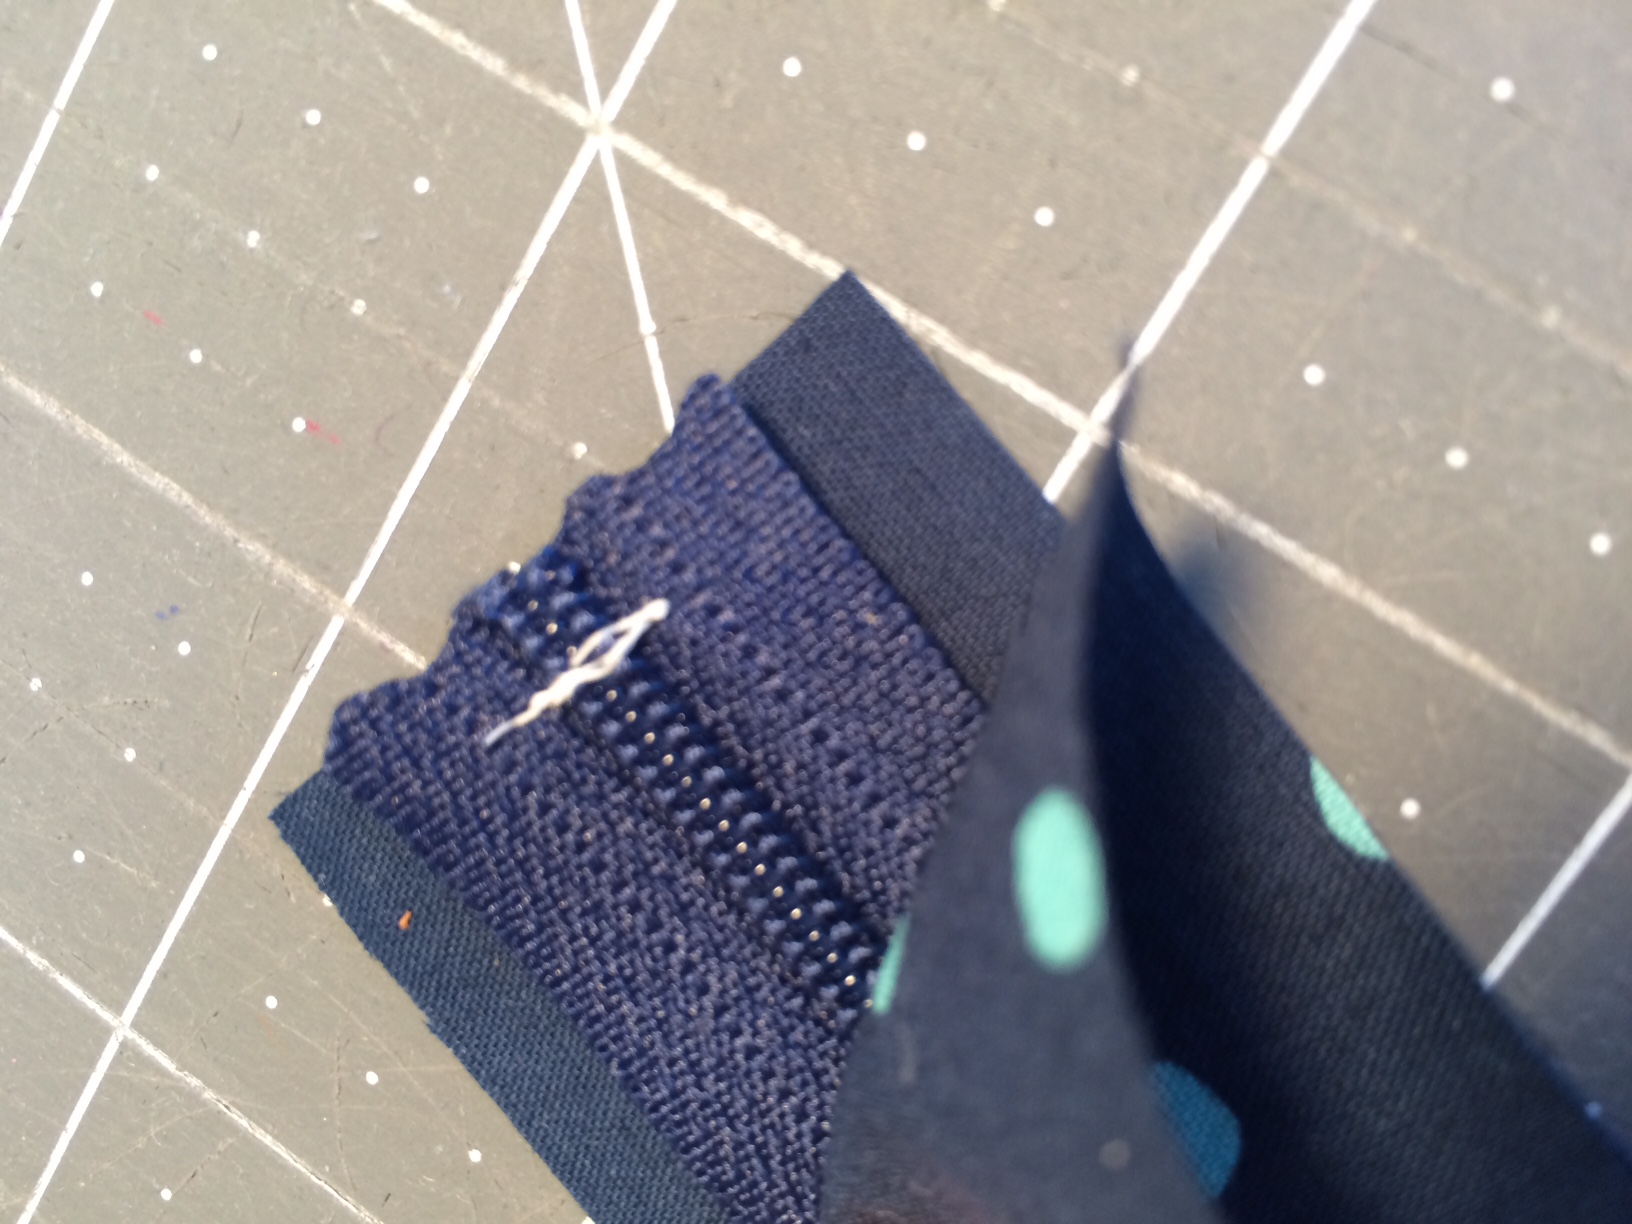 With a 1/4" SA, sew your zipper sandwich together. We'll be trimming the tabs down to match the zipper width, so be sure to backstitch where the zipper begins and ends.
 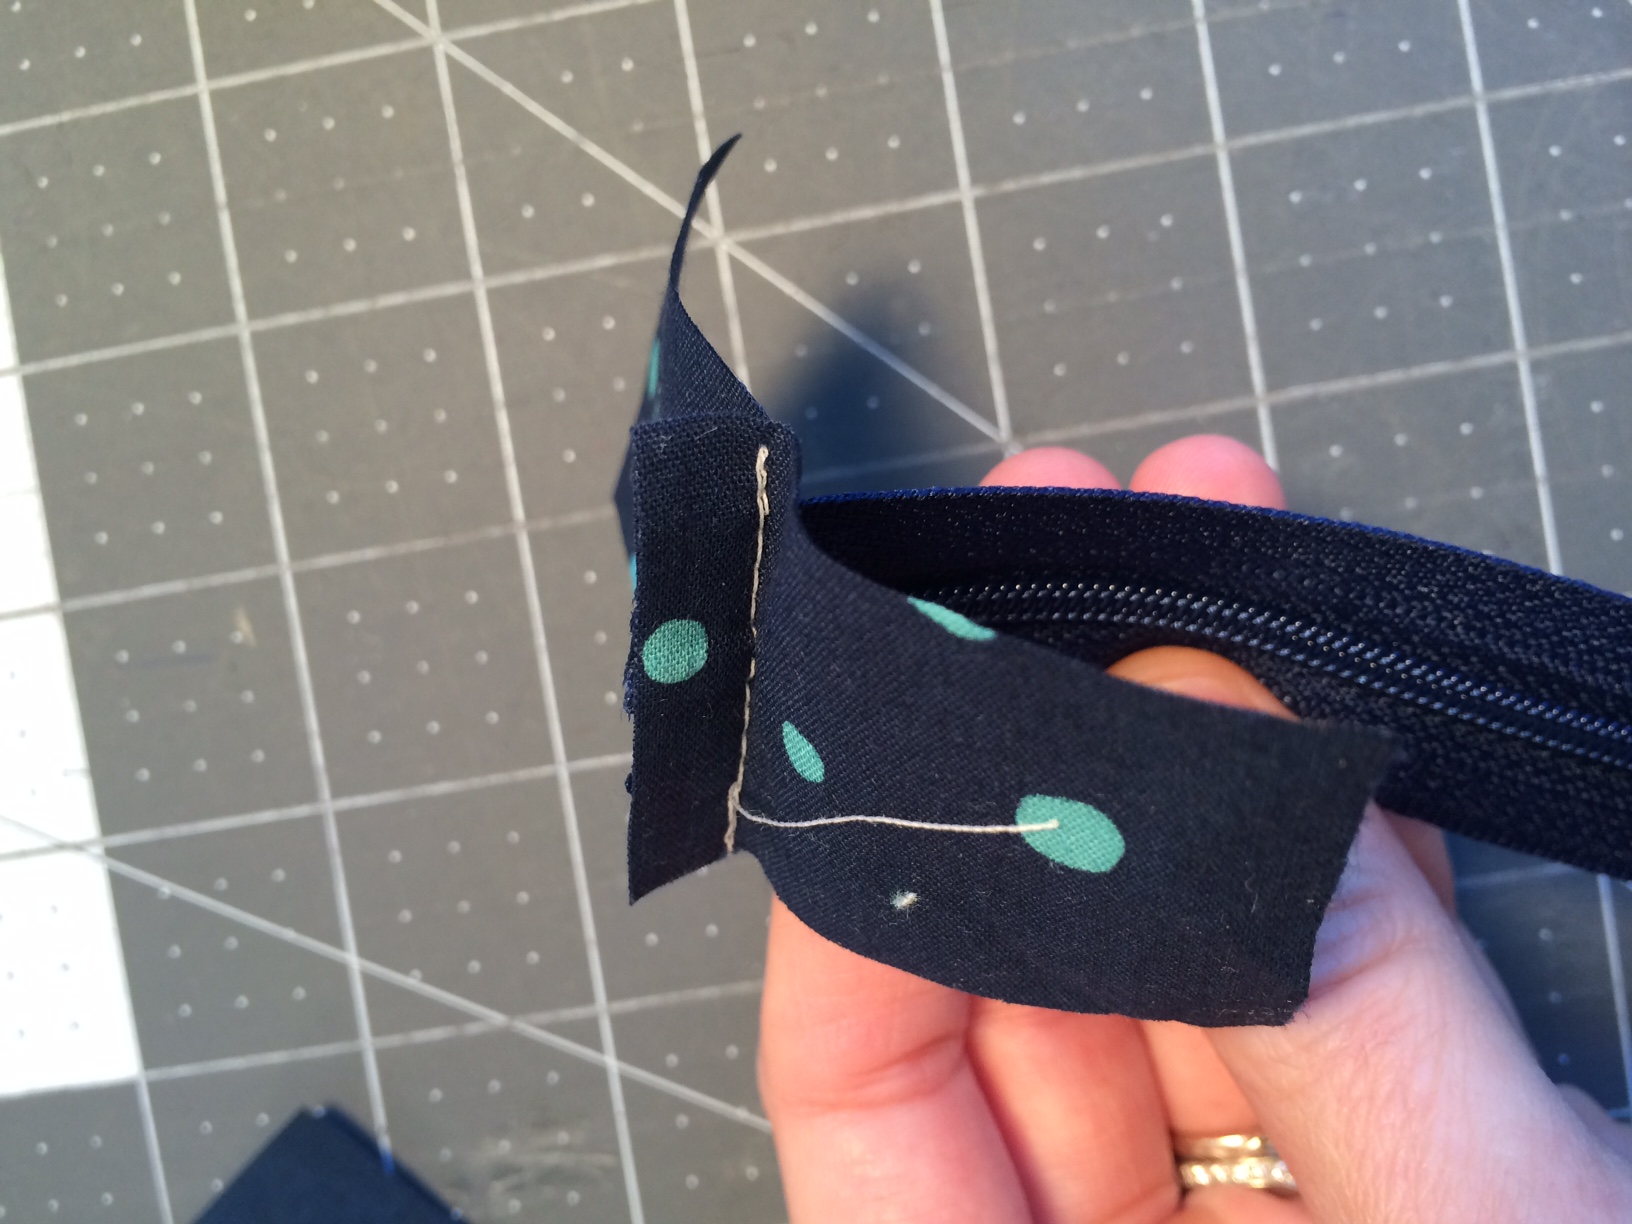 Pull the fabric back and topstitch the zipper tabs ~1/8" from the zipper teeth. Trim your zipper tabs to match the width of the zipper tape.
 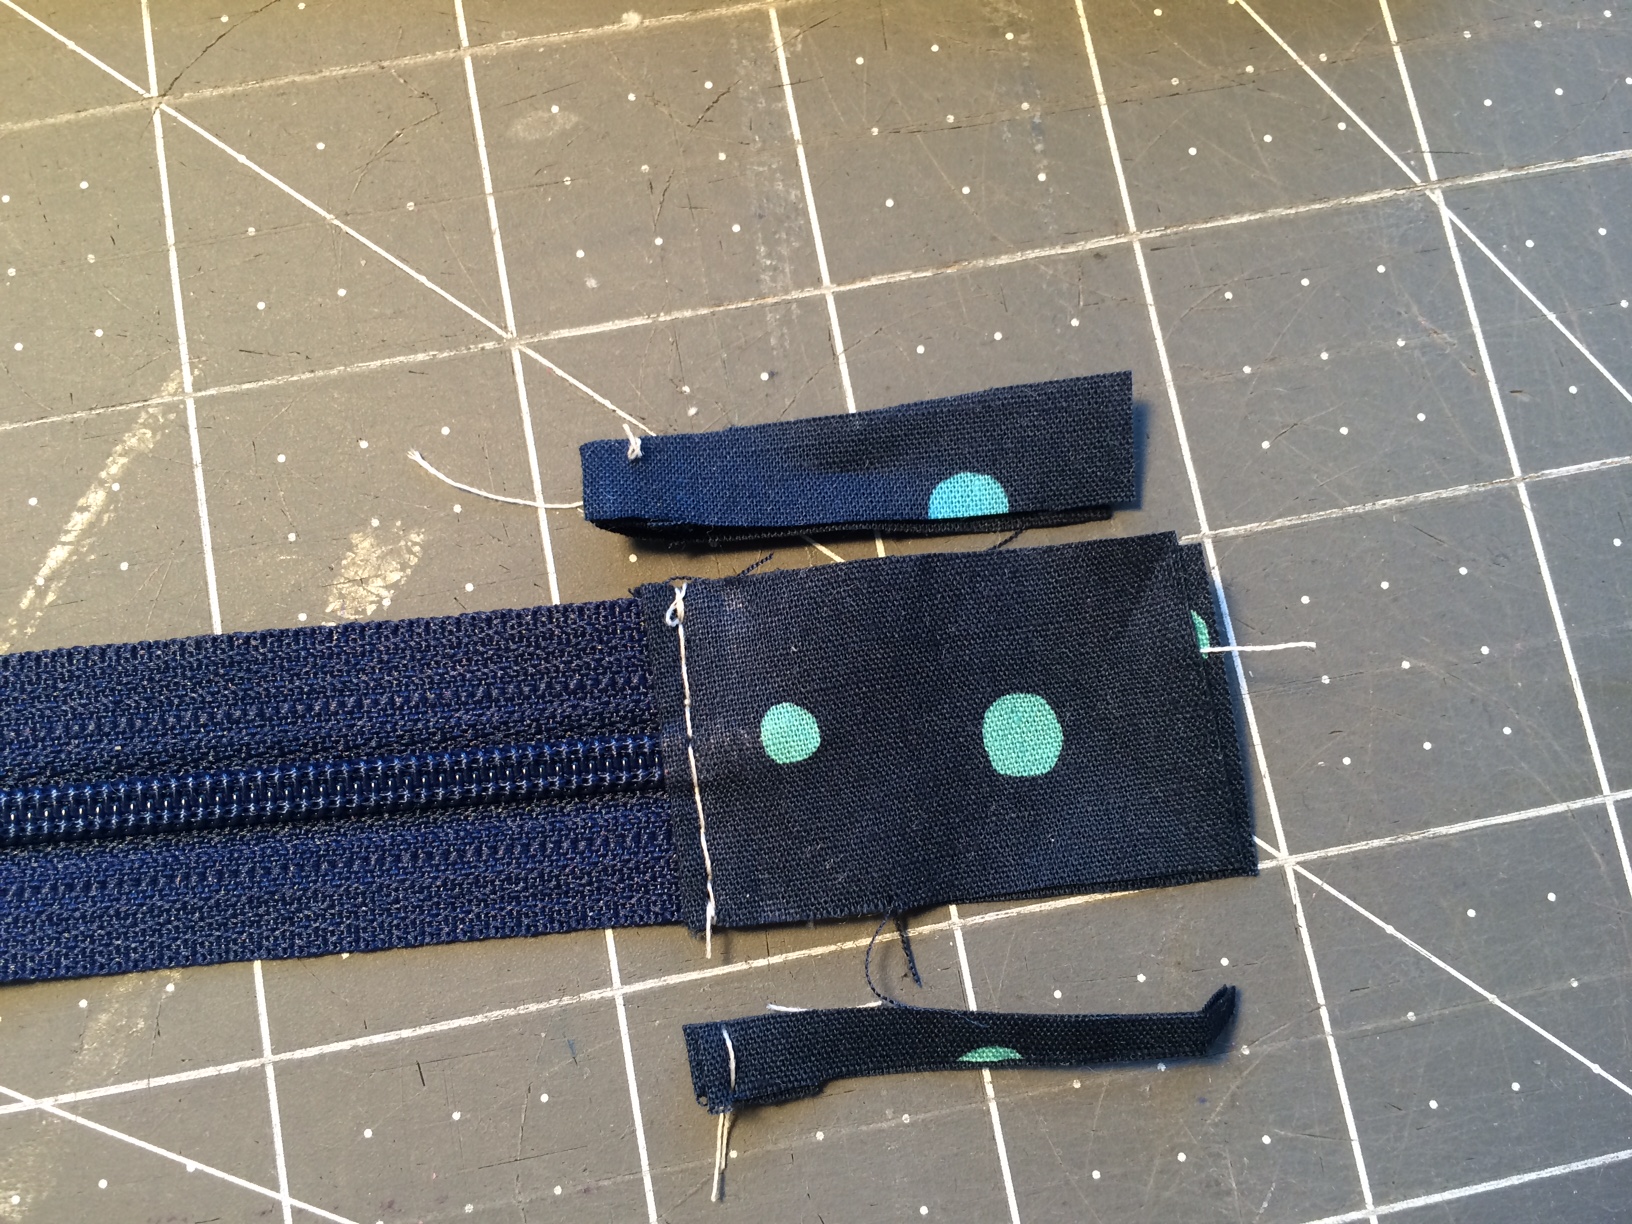 Repeat the above steps with the other 2 zipper tabs and the other end of your zipper.
 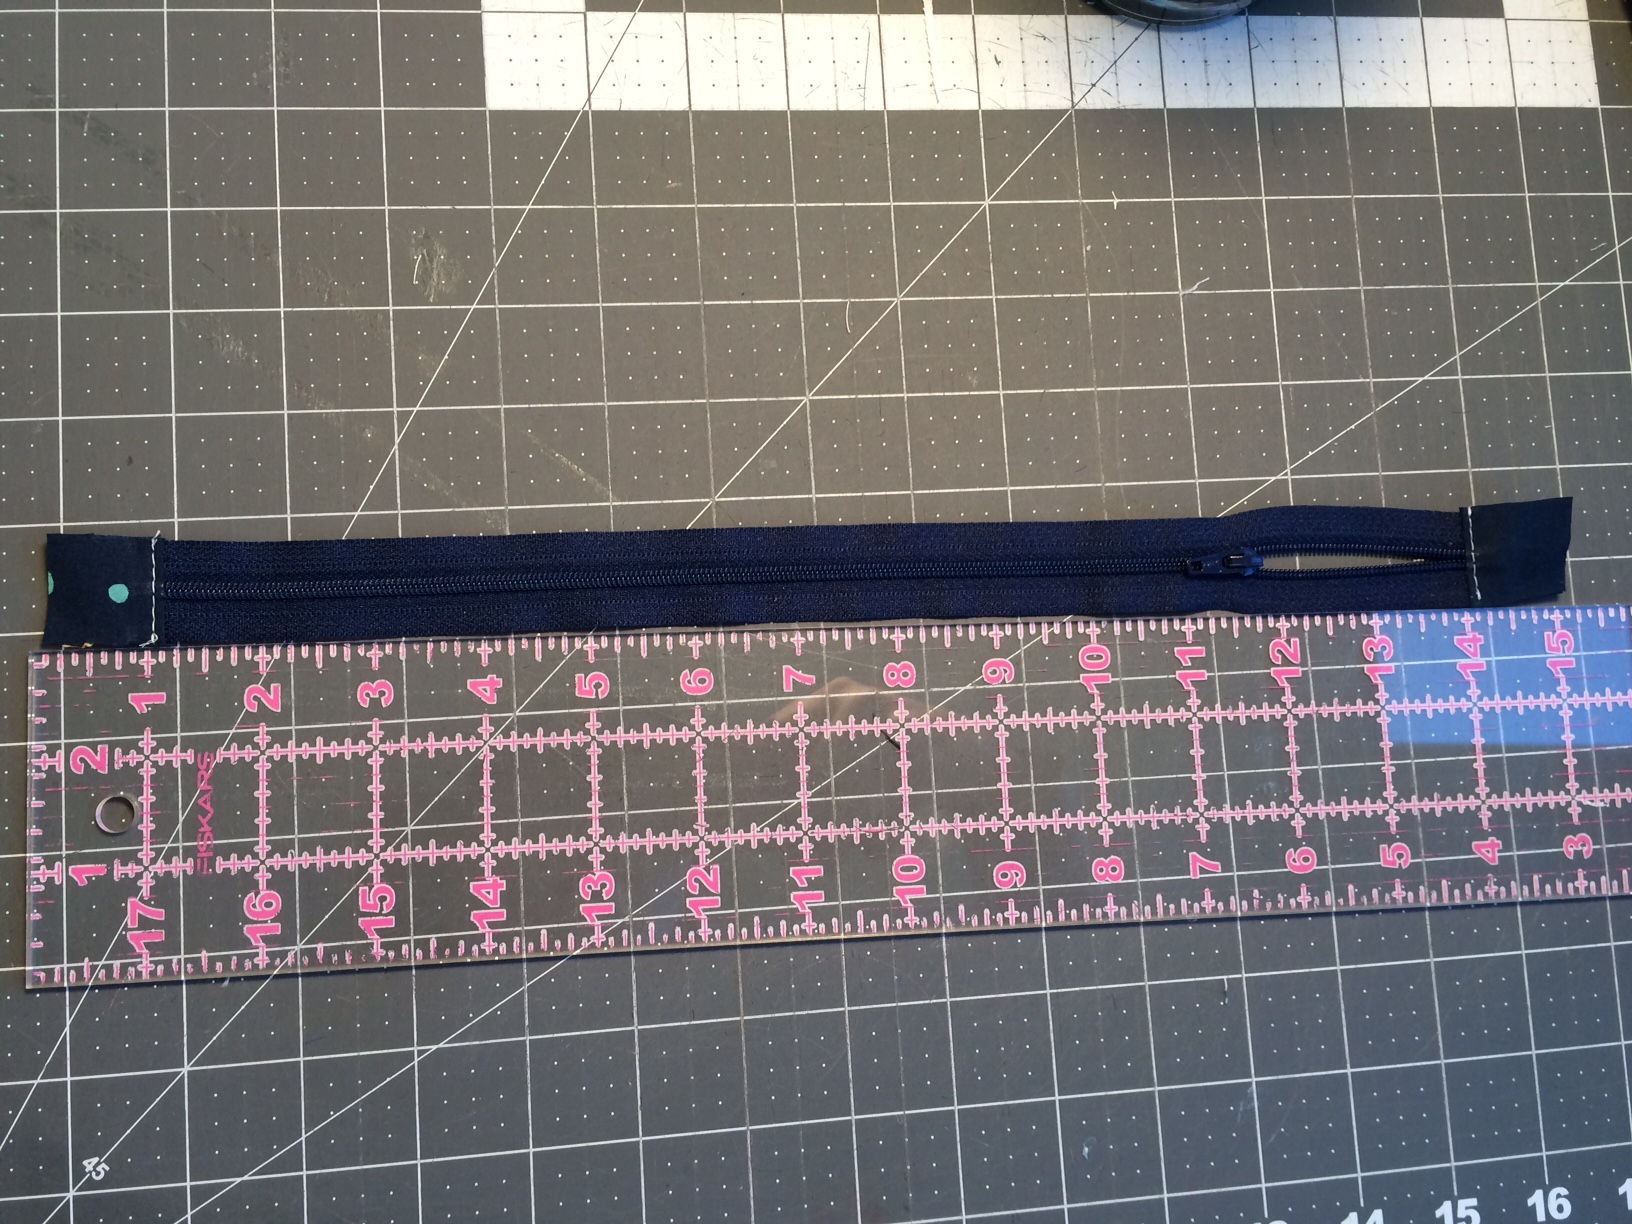 We need the length of the zipper, tabs included, to be 15". You'll need to trim ~1/2" off the end of each zipper tab. Now that our zipper is prepped, we can get to sewing this bad boy on. Don't be lazy - put on your zipper foot. I always think I'll just leave my regular foot on and then my zipper gets shifty and doesn't look as nice. Take one of your back pocket lining pieces without interfacing and place it right side up. Place your zipper, right side up, along the top edge of the lining piece.
 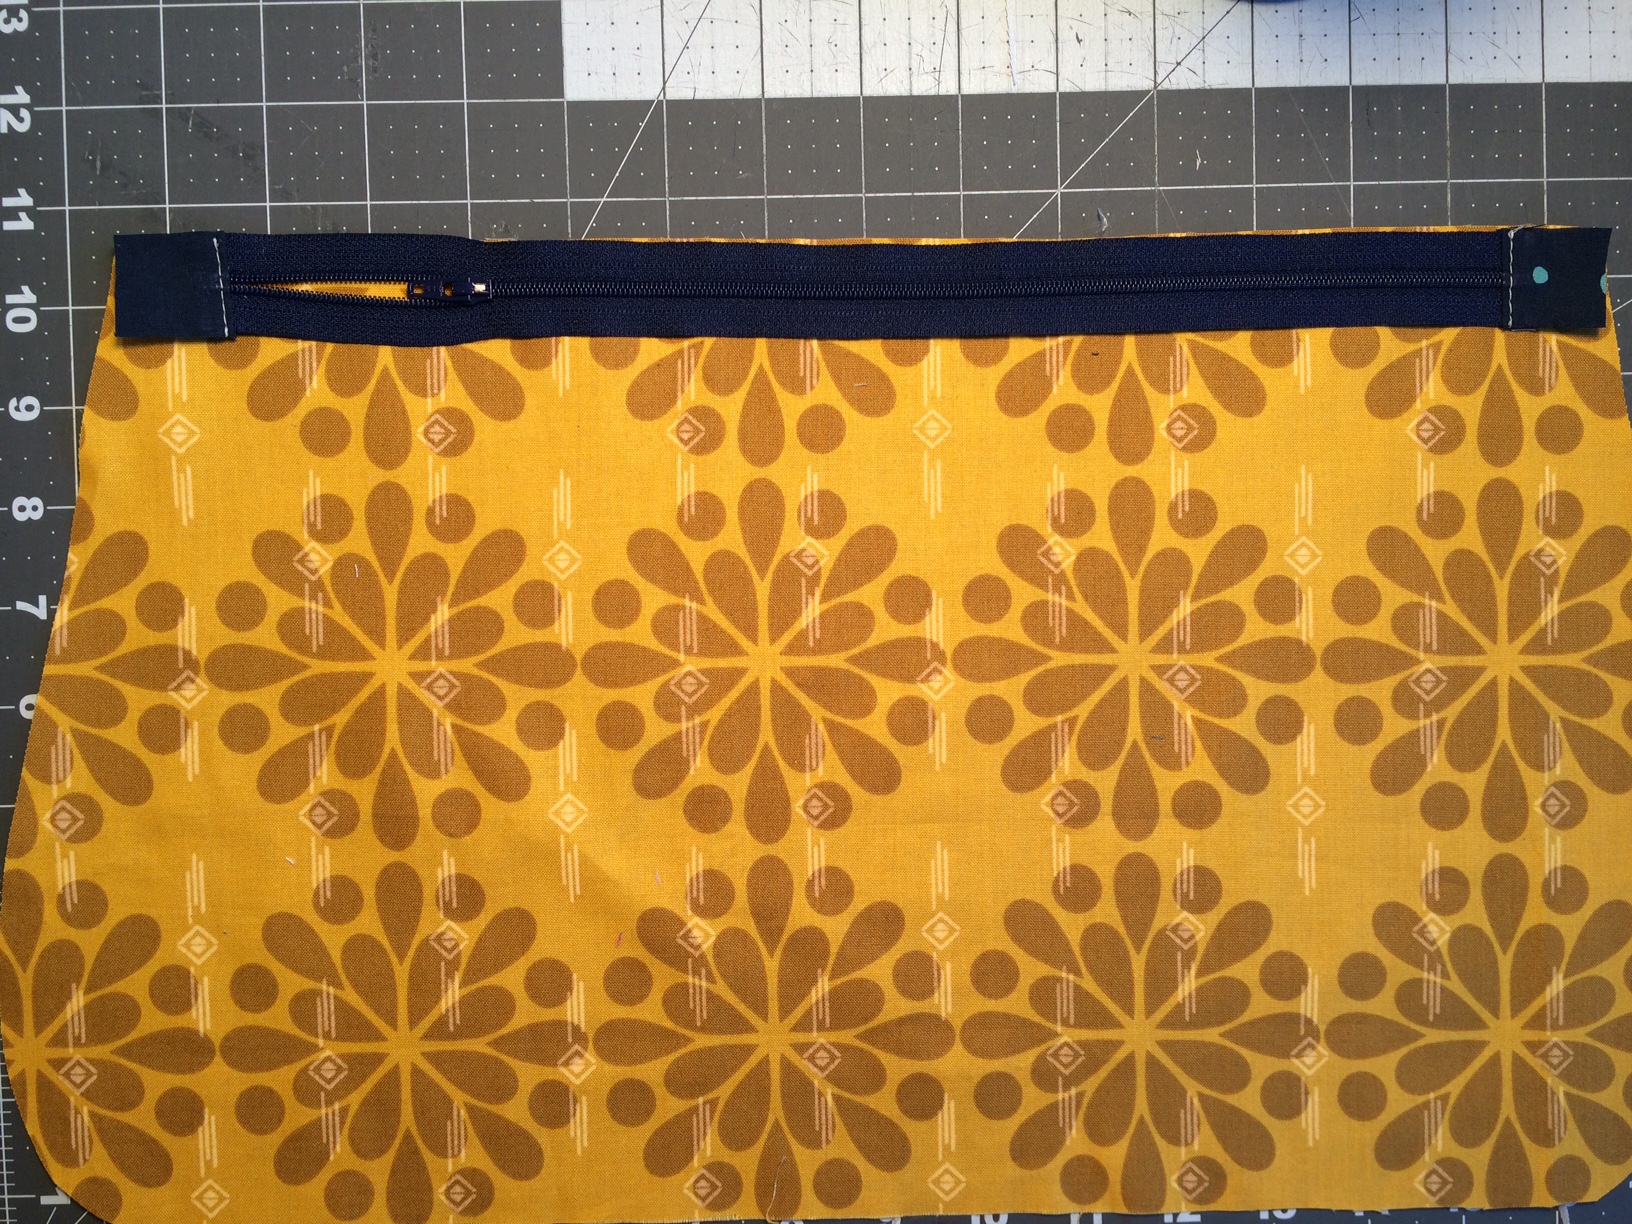 Baste in place with an 1/8" SA.
 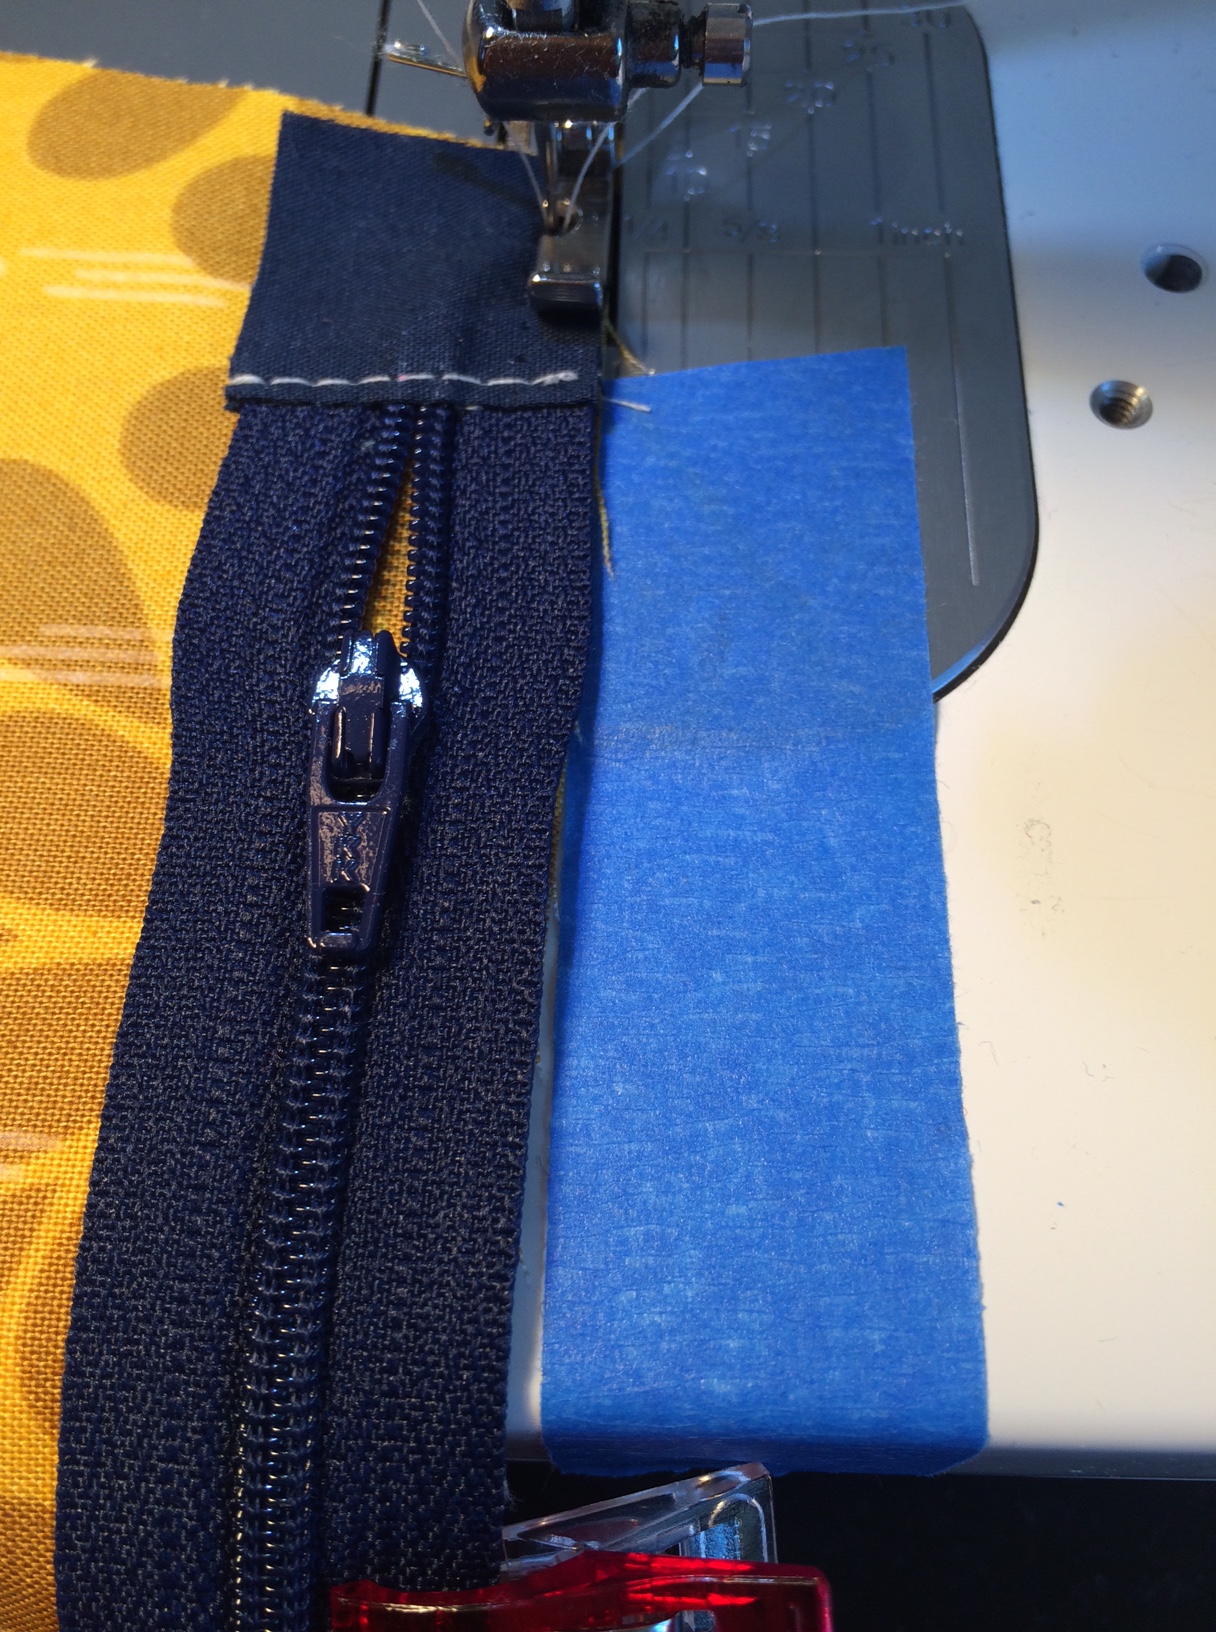 Take the remaining pocket lining piece and place it right side up. Place the lining piece that you just basted the zipper to right sides together with that lining piece. Align the zipper with the top edge of the lining piece that is right side up on your work surface.
 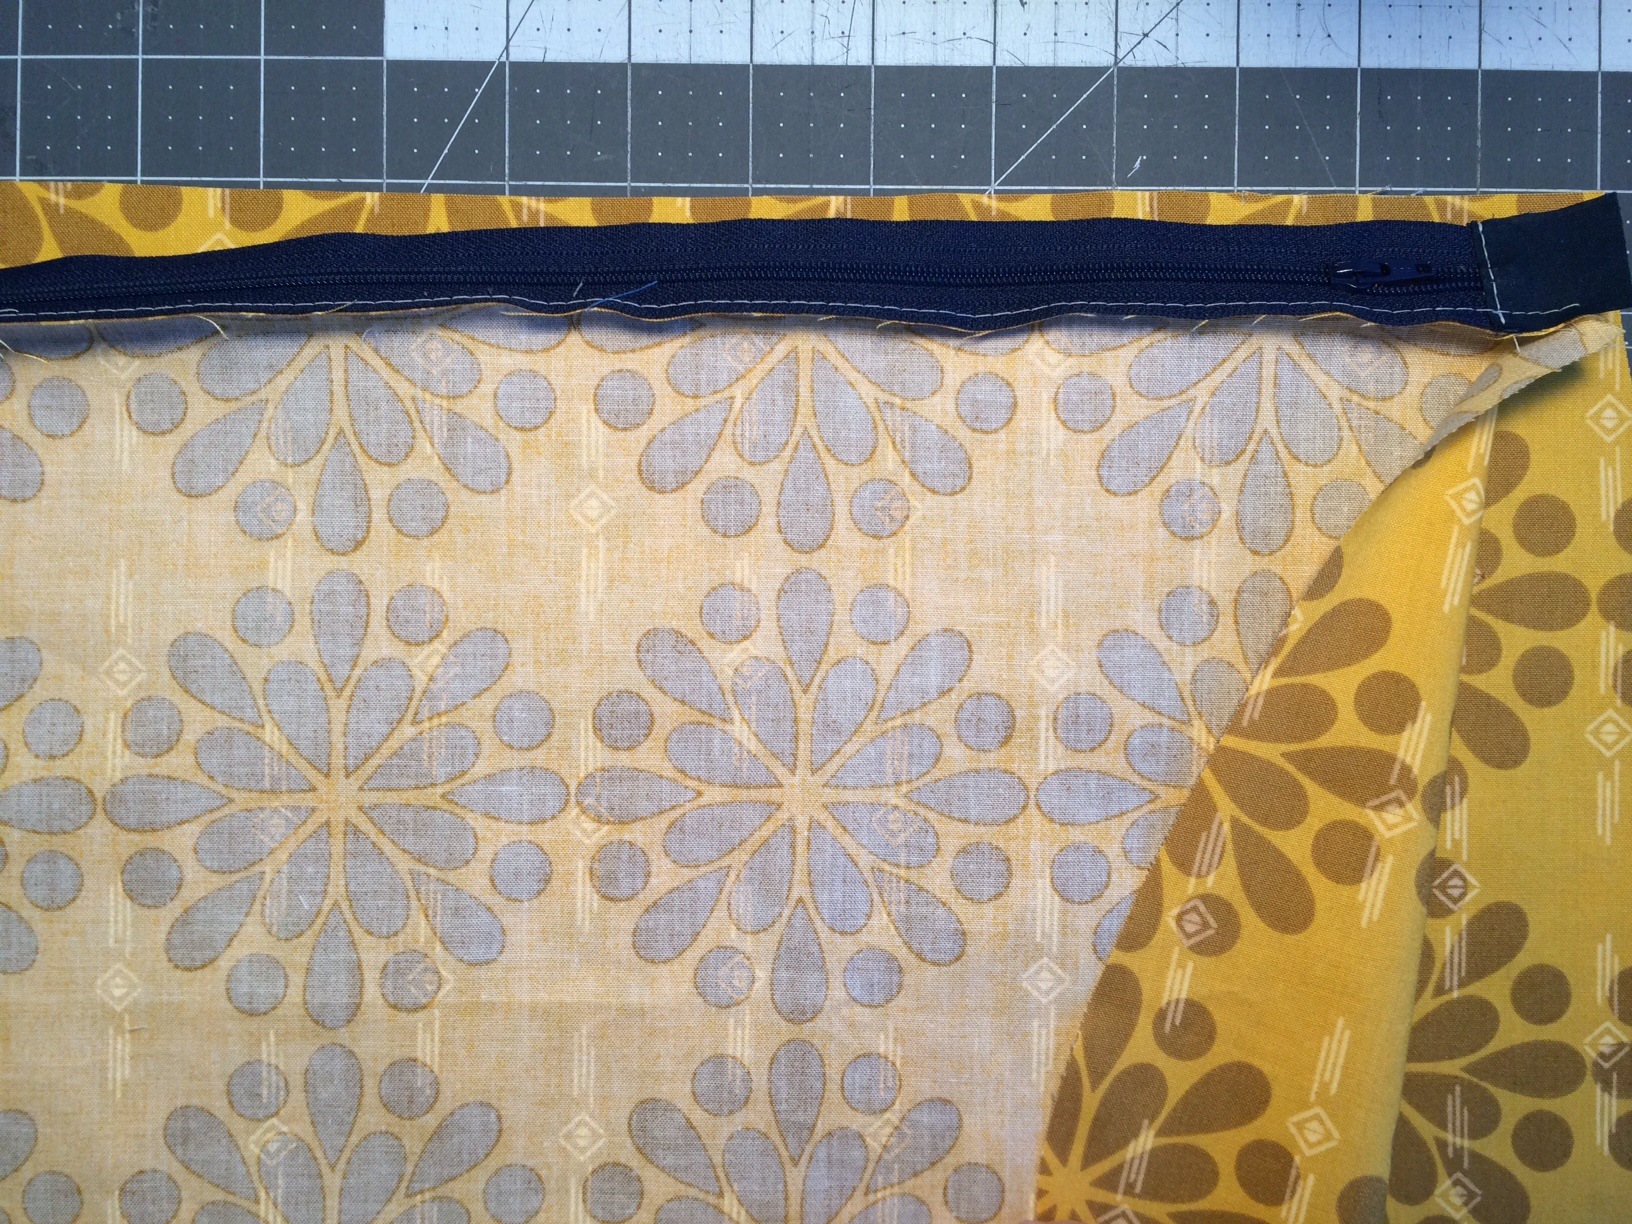 Baste the zipper with an 1/8" SA to the other lining piece.
  Now that the zipper is basted to the 2 lining pieces, get the other 2 back pocket pieces. They will both get stitched, right sides together with the top of the zipper teeth. Align the exterior back pocket piece, right side down against the zipper and stitch together with a 1/4" SA. Press that piece away from the zipper and take the back pocket piece with the installed magnetic snap and lay it right side together with the zipper. Stitch together with a 1/4" SA.
 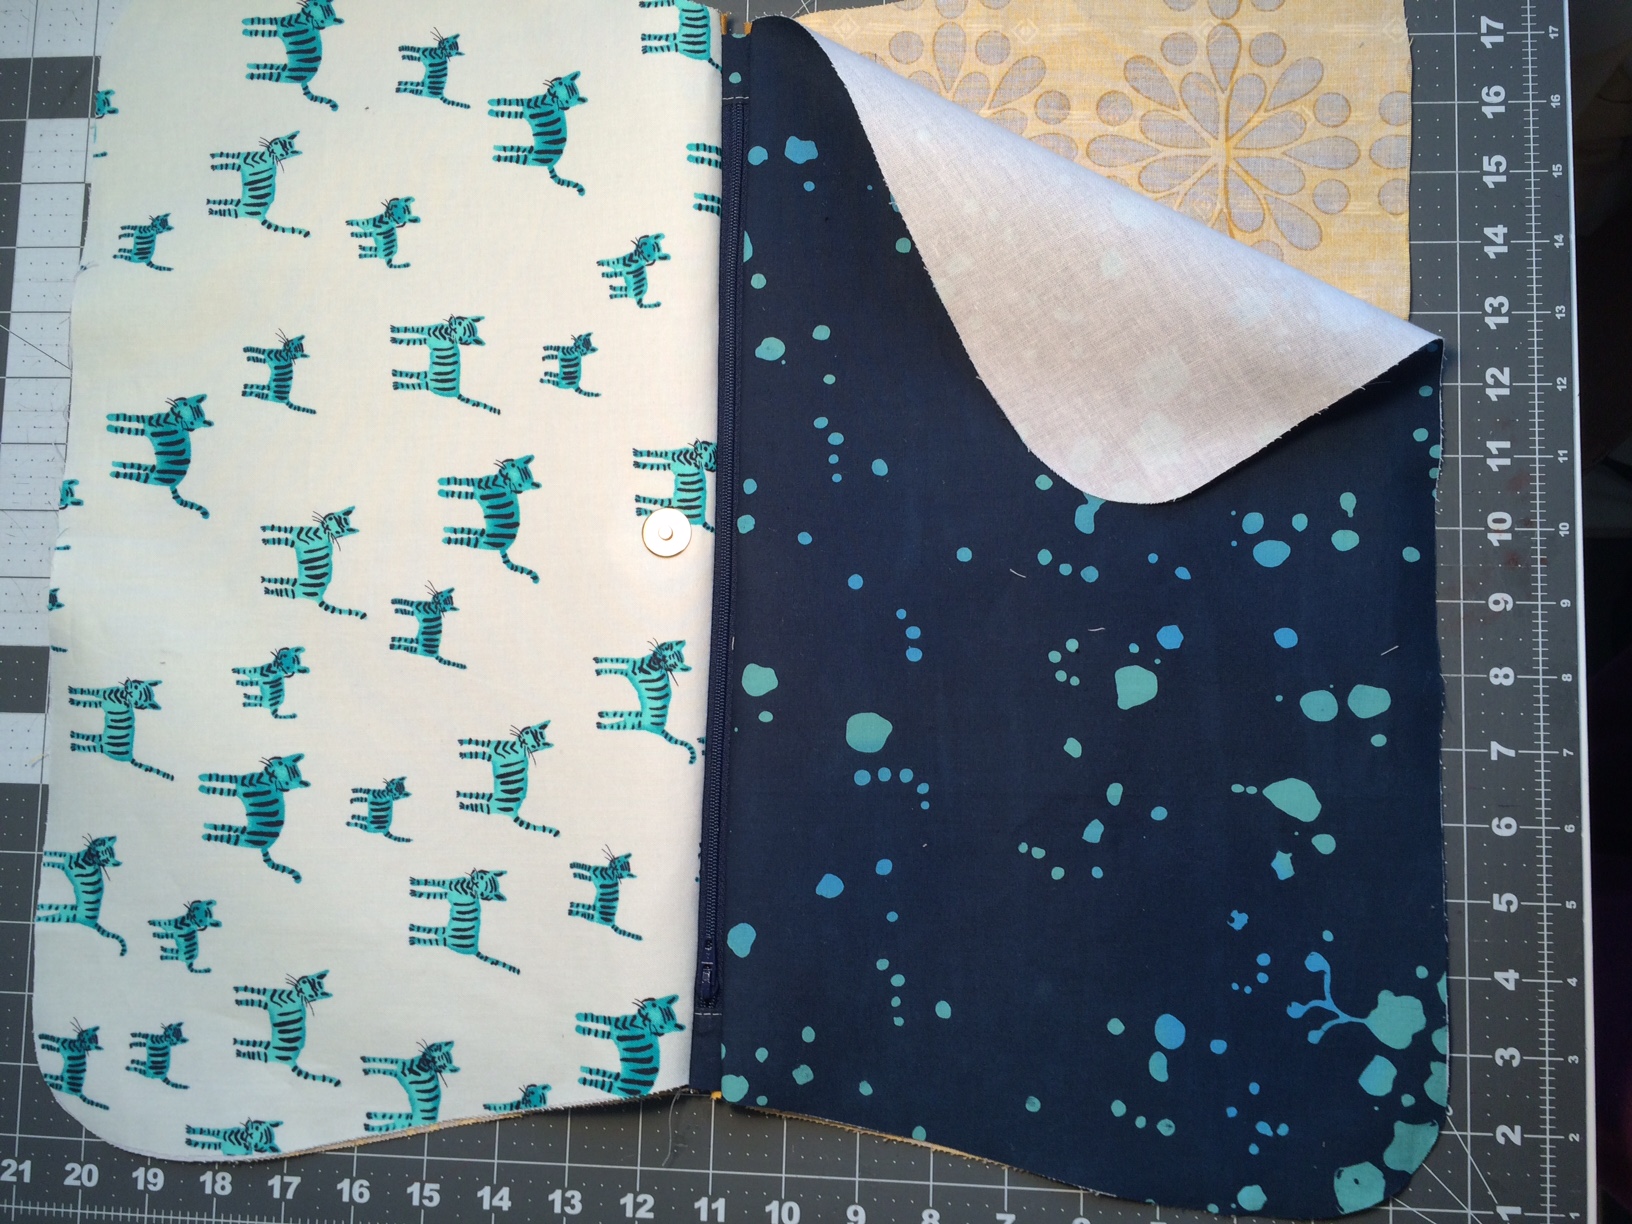 Now that all 4 of your back pocket pieces are attached to the zipper, pull each side away from the zipper and topstitch ~1/8" away from the zipper teeth. Now we're going to pull all 3 pieces away from the back pocket exterior piece. In the photo above, the yellow piece behind the blue piece would be pulled back and pinned to the back of the white tiger fabric. We need to keep these pieces out of the way so that we can sew our short handle to the blue pocket piece without going through our zippered pocket lining.
 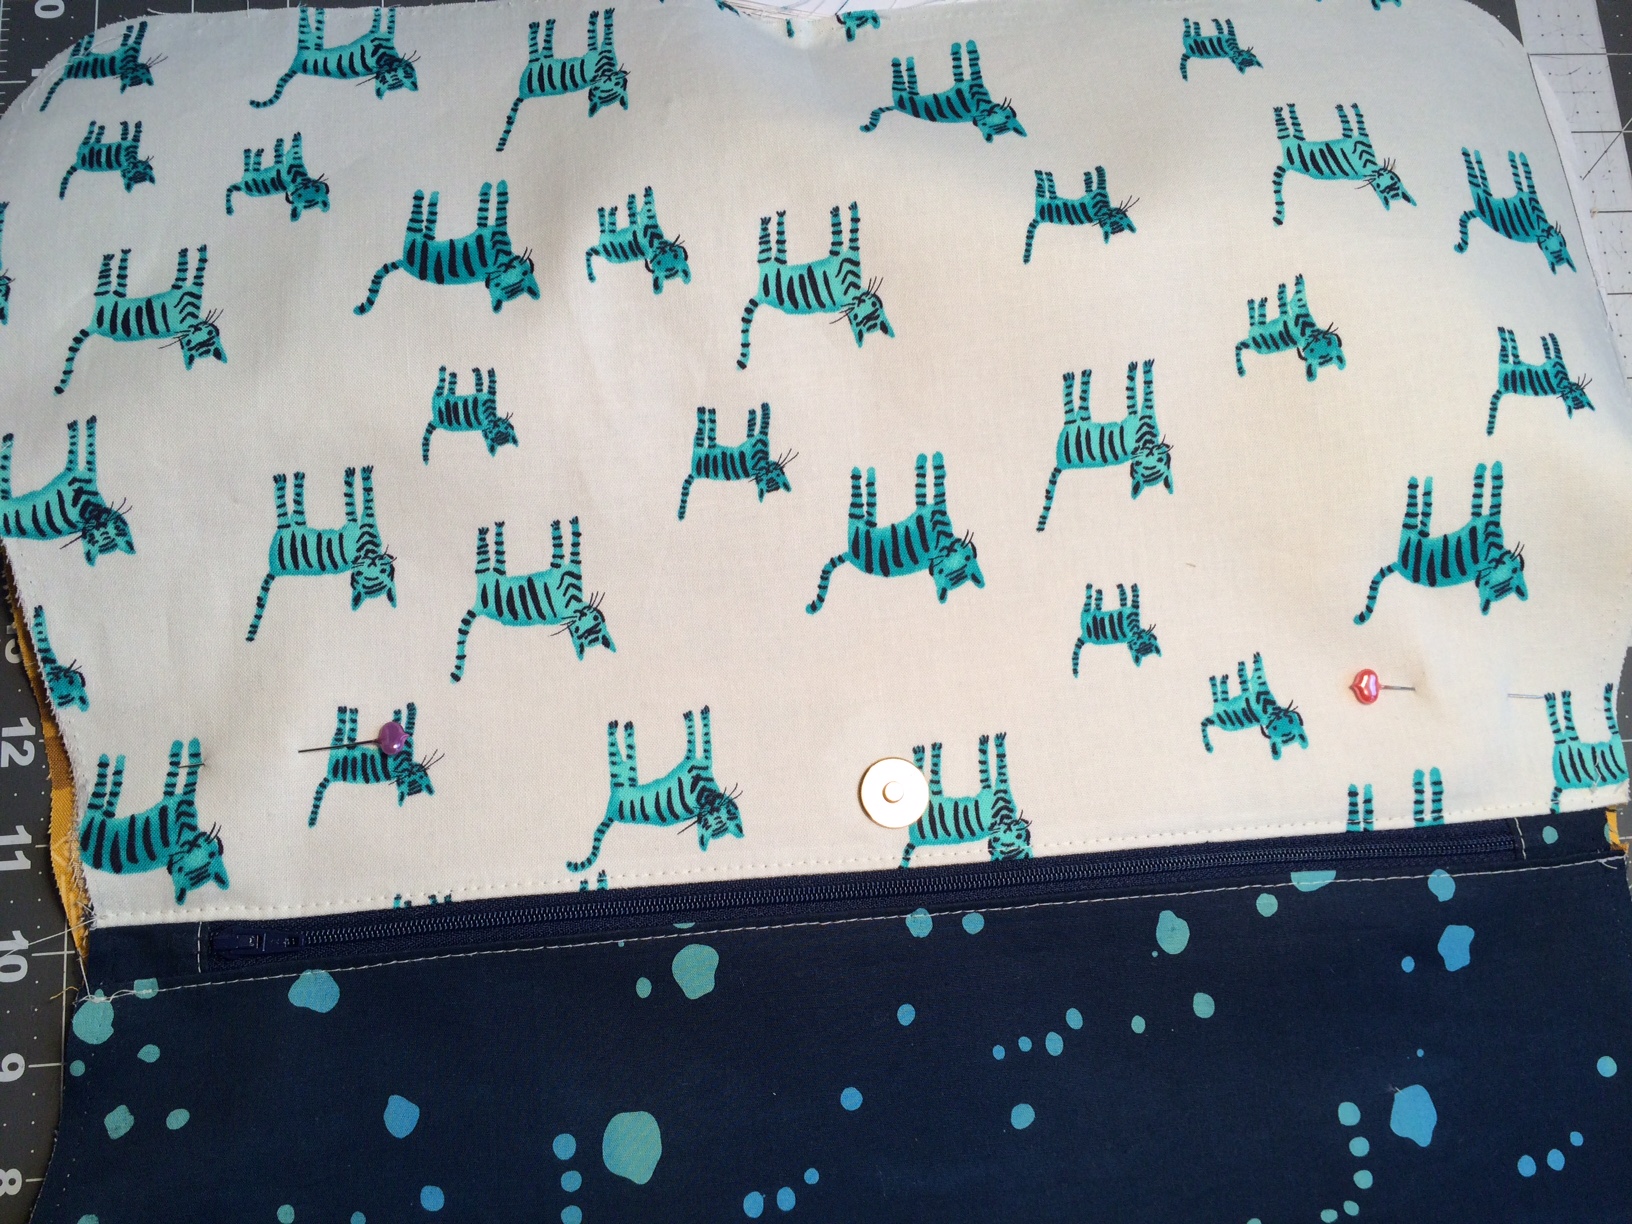 Follow steps 28 and 29 to attach your short handle to your exterior back pocket piece. Instead of 3" from the top edges, place your handle 2.5" from the top edges. The reason is because we made our straps a 1/2" wider than the original pattern, so we want to leave the same amount of space between the handles. Your stitching across the top of your handle should cross right below the zipper topstitching.
 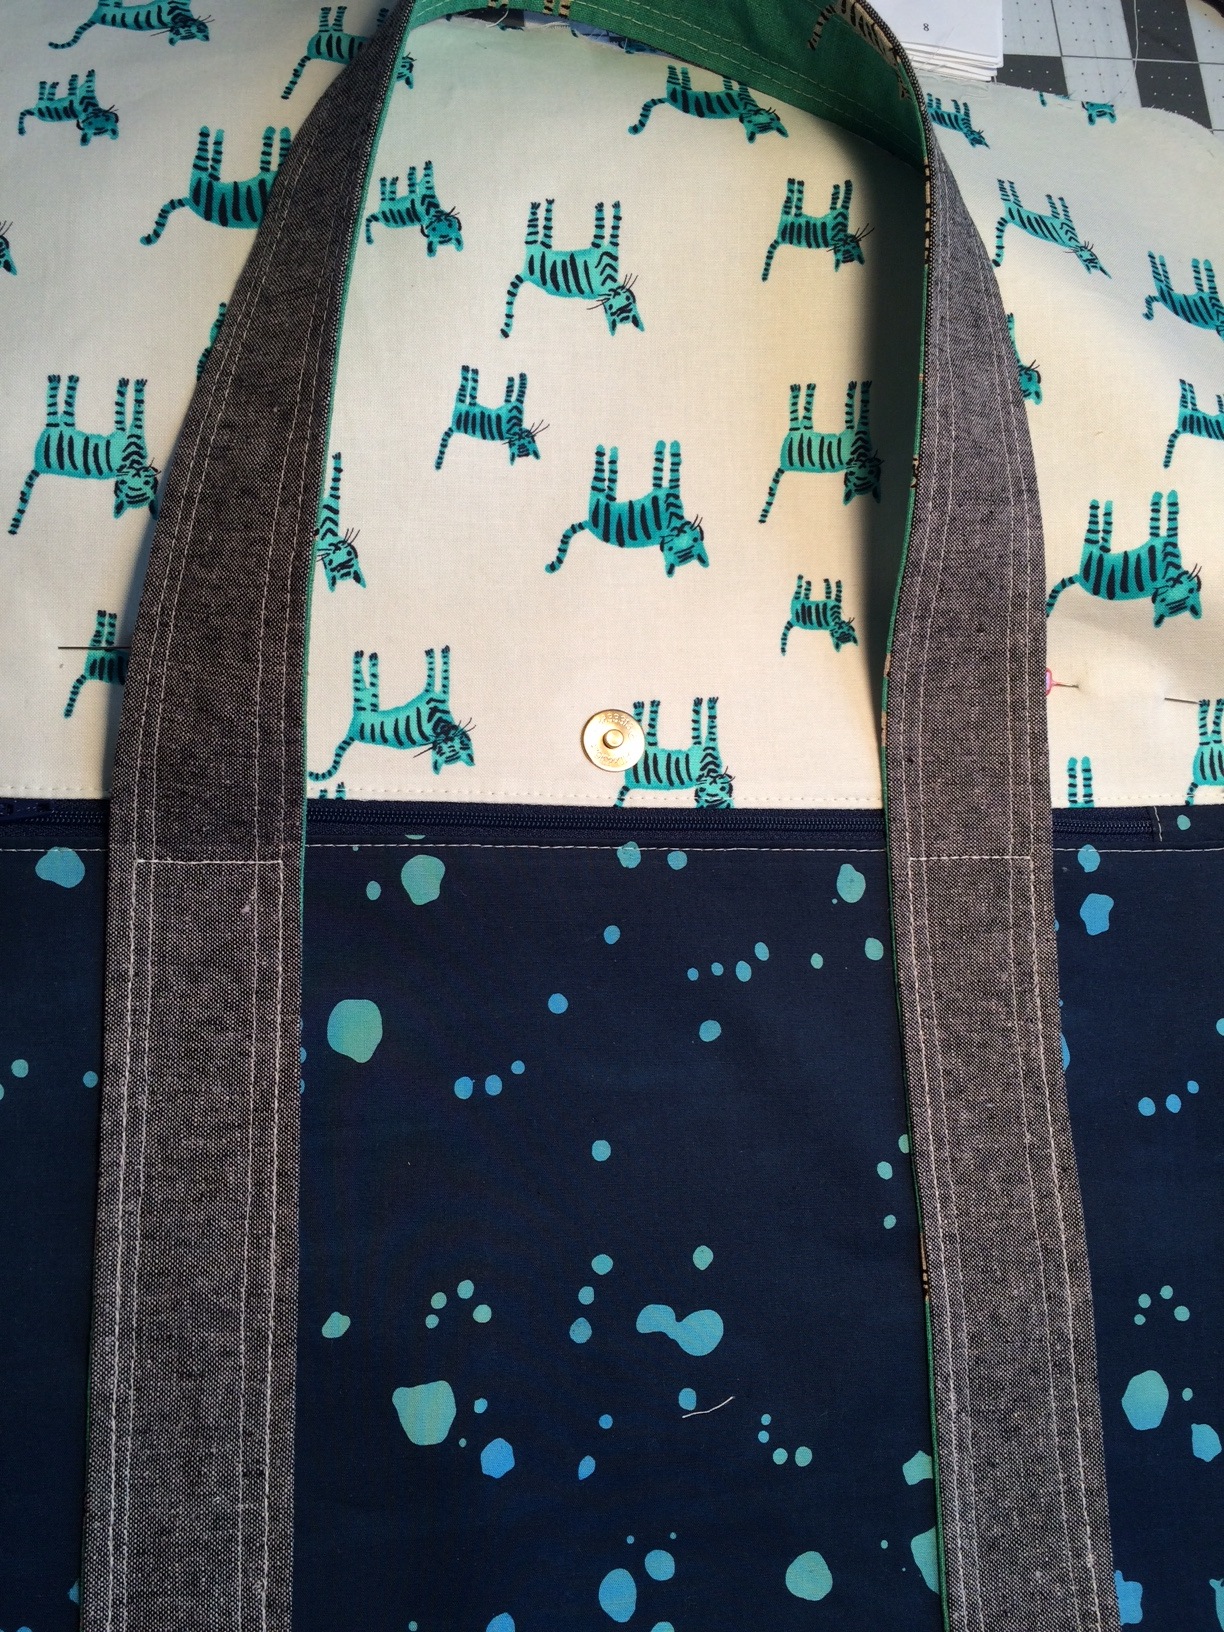 If you're installing rivets, place a scrap of Peltex behind your strap for extra support. You can use a dot of FabriTac to hold the Peltex in place while you're installing your rivets.
 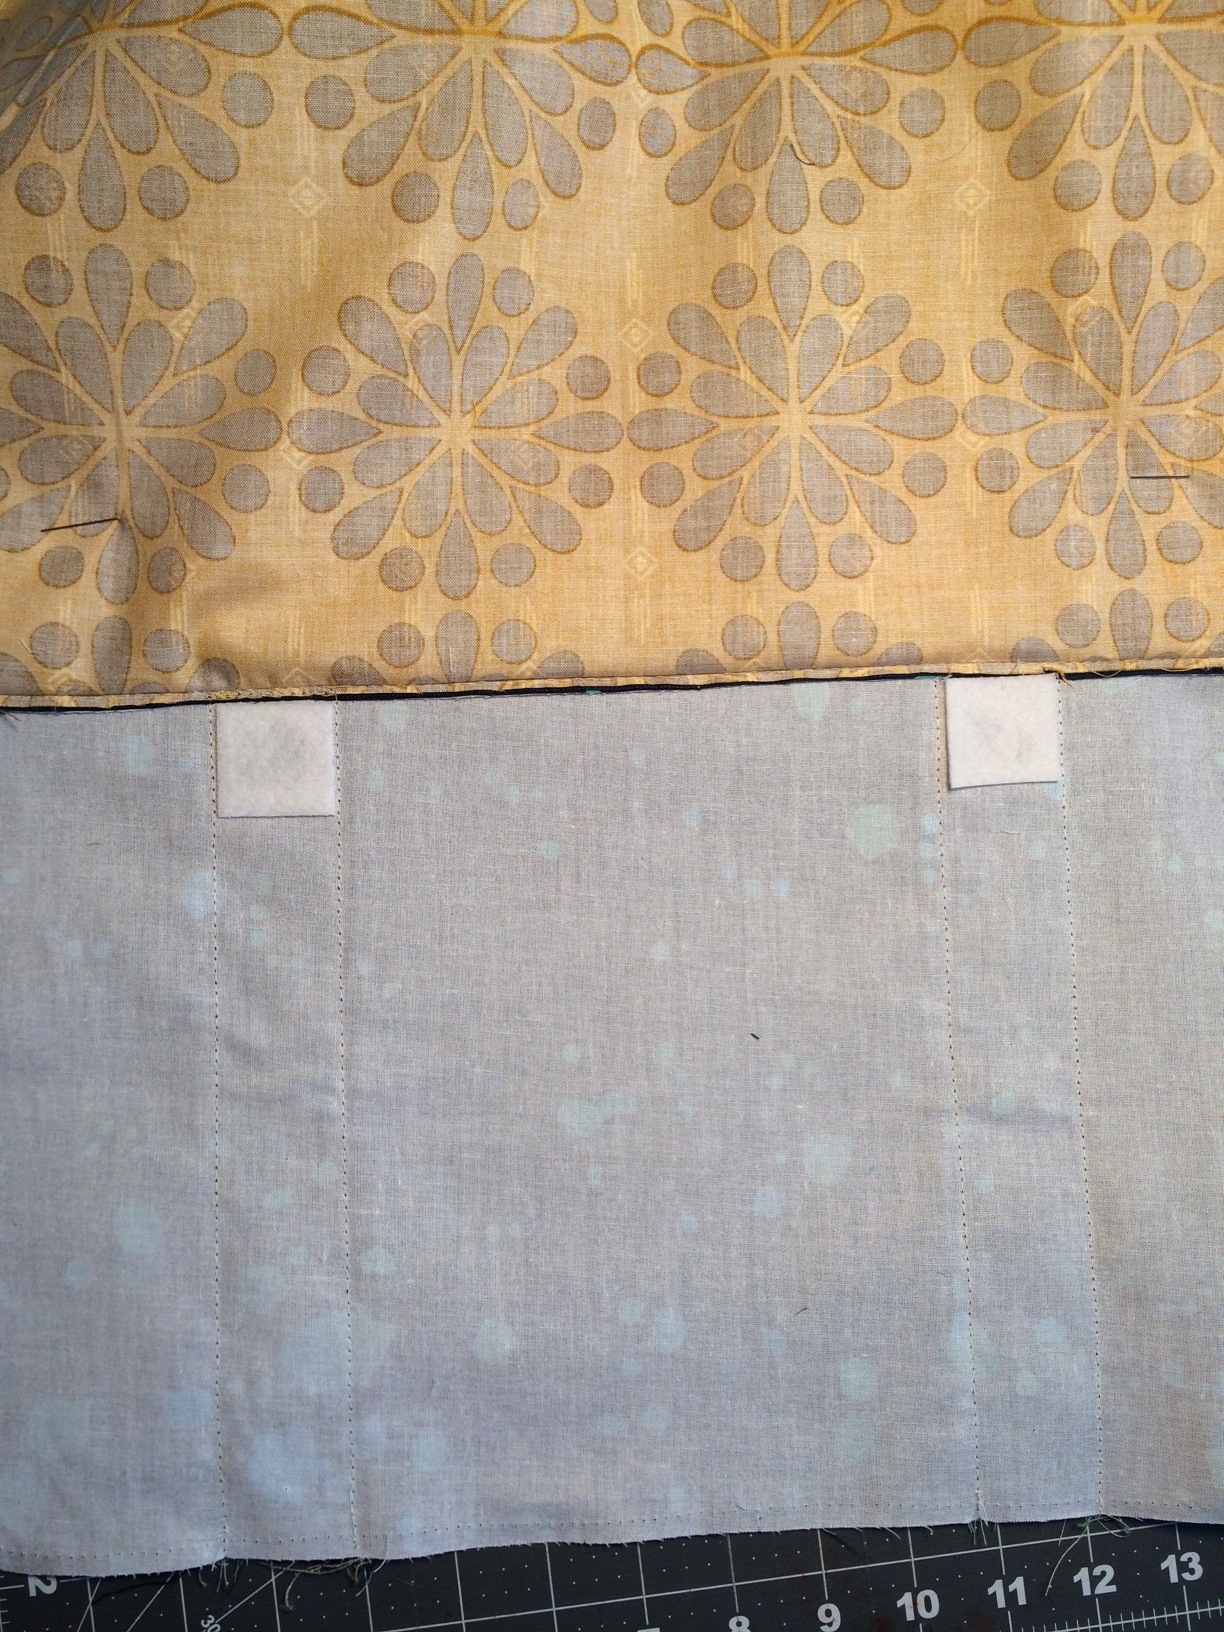 After your handle is stitched down and, if applicable, rivets are installed, clip all 4 of your layers together and baste around sides and bottom edge.
 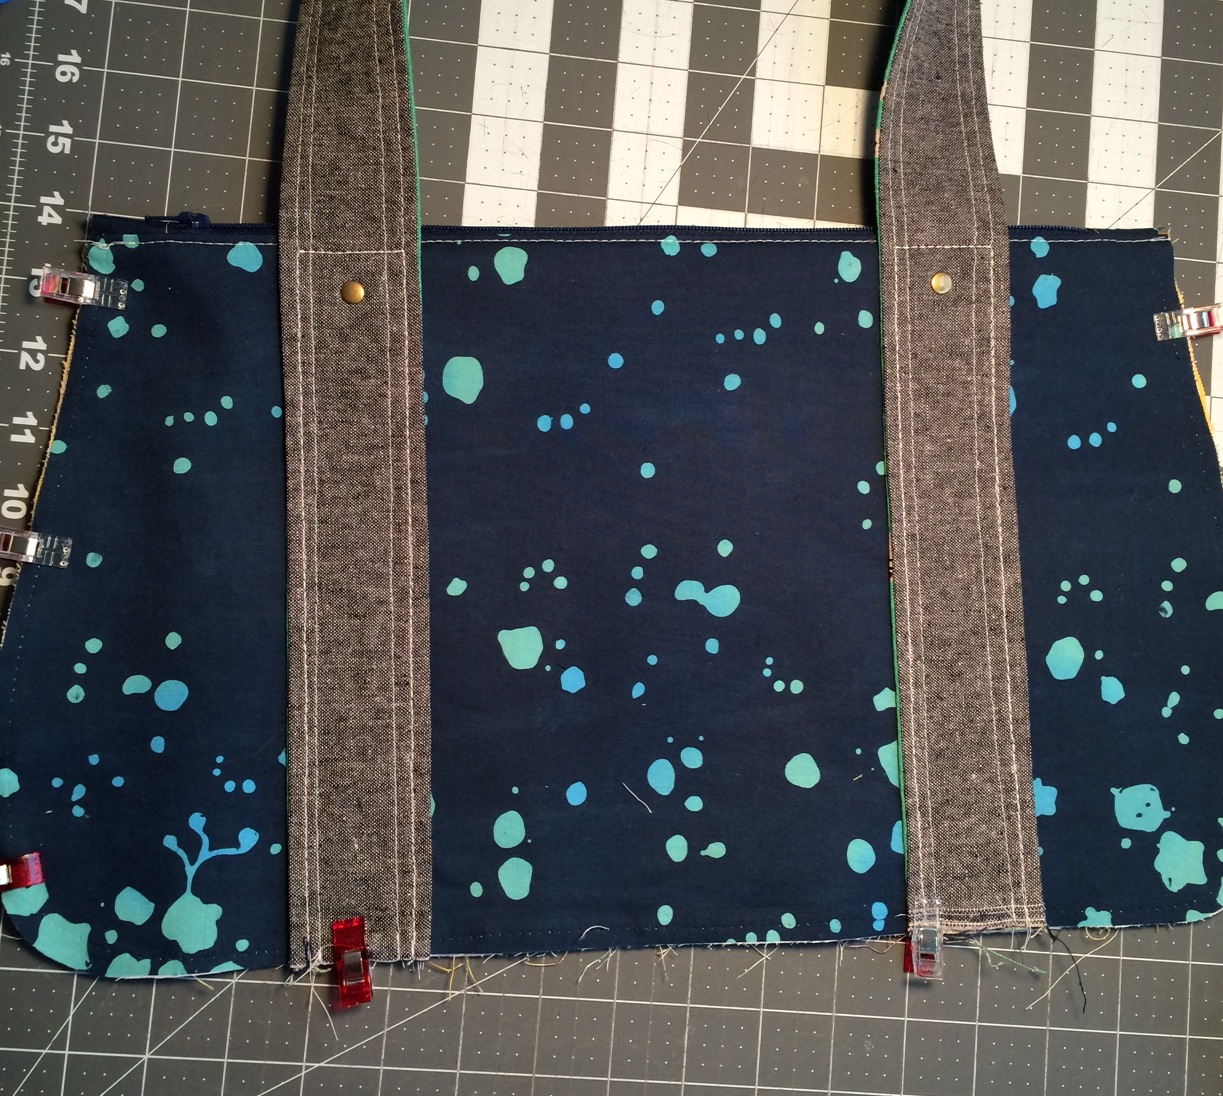 For step 30, instead of stitching down the hook and loop tape, we'll install the female half of our magnetic snap. Take your back main panel that you've installed a zippered pocket on, and place your back zippered slip pocket on top of it. Make sure all of the edges are aligned and push down on your magnetic snap so that it leaves an indent in your back panel. Make a mark on that spot.
 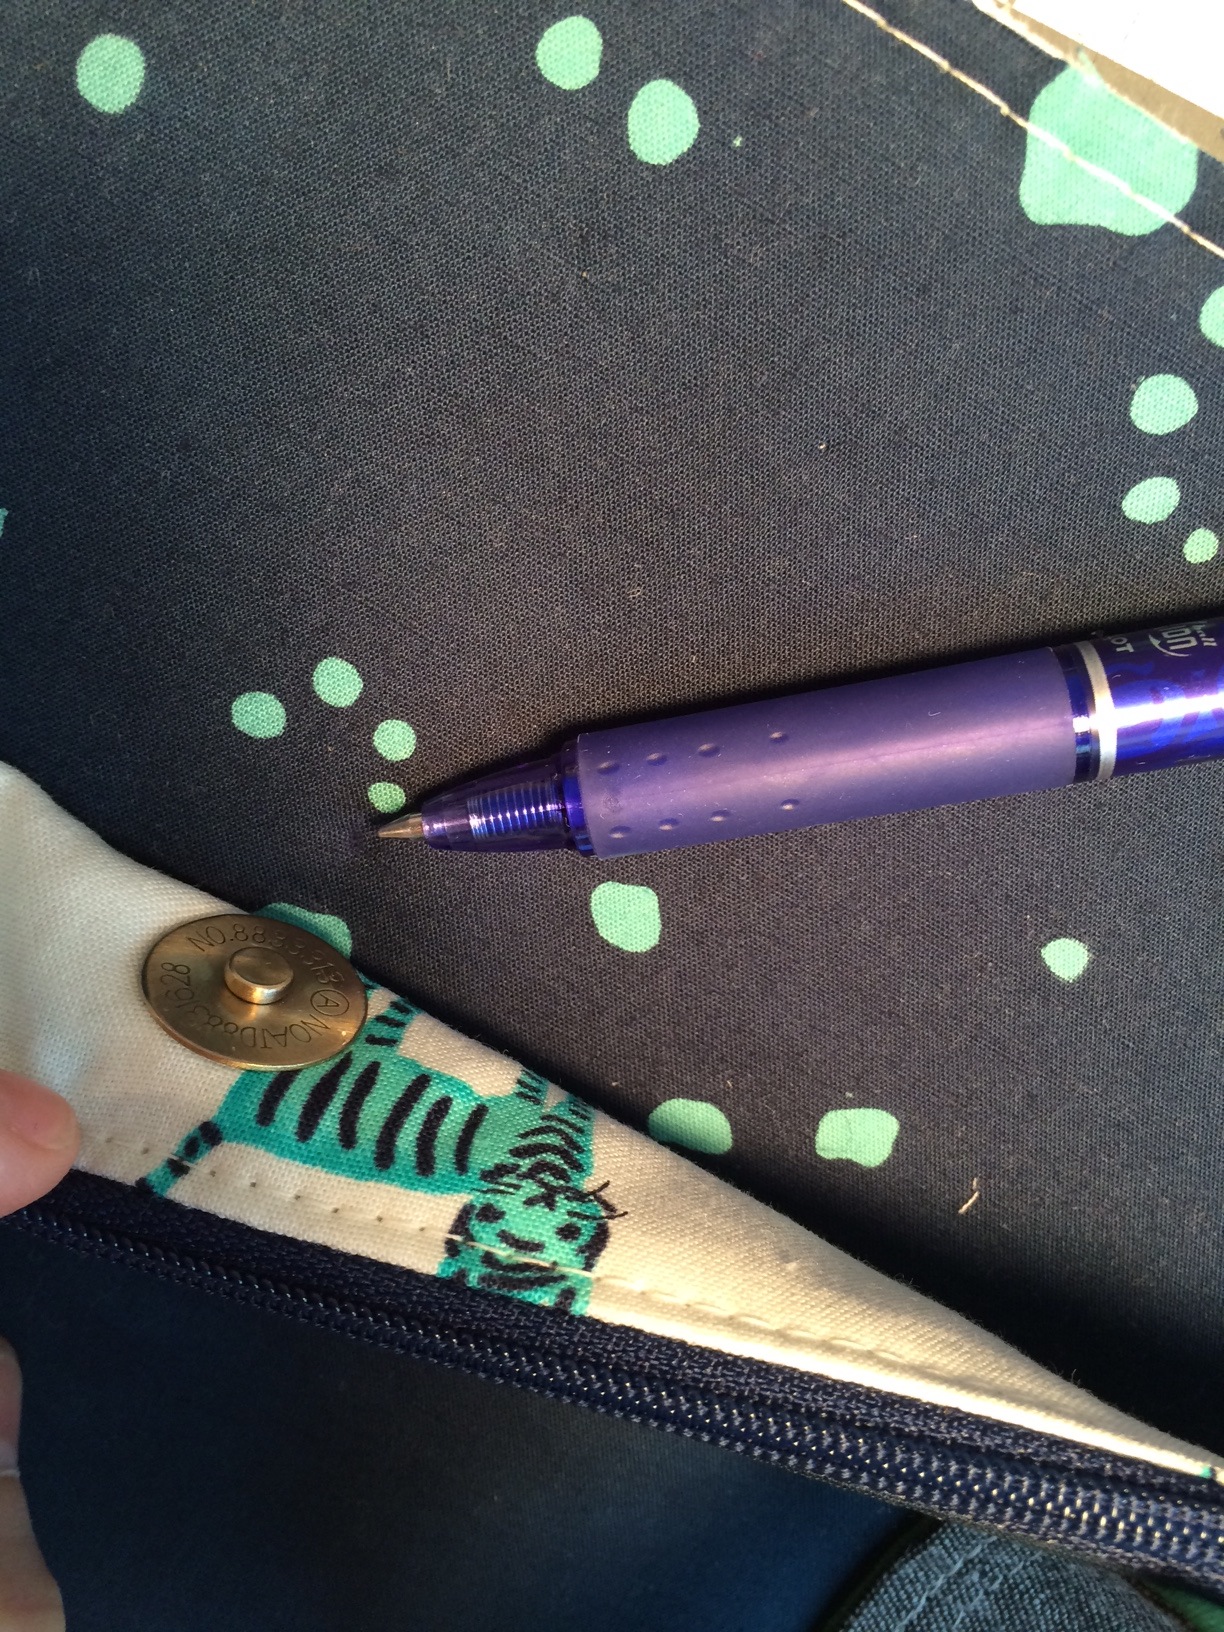 The female half of your magnetic snap should be installed on the back panel ~3" down from the top center.
 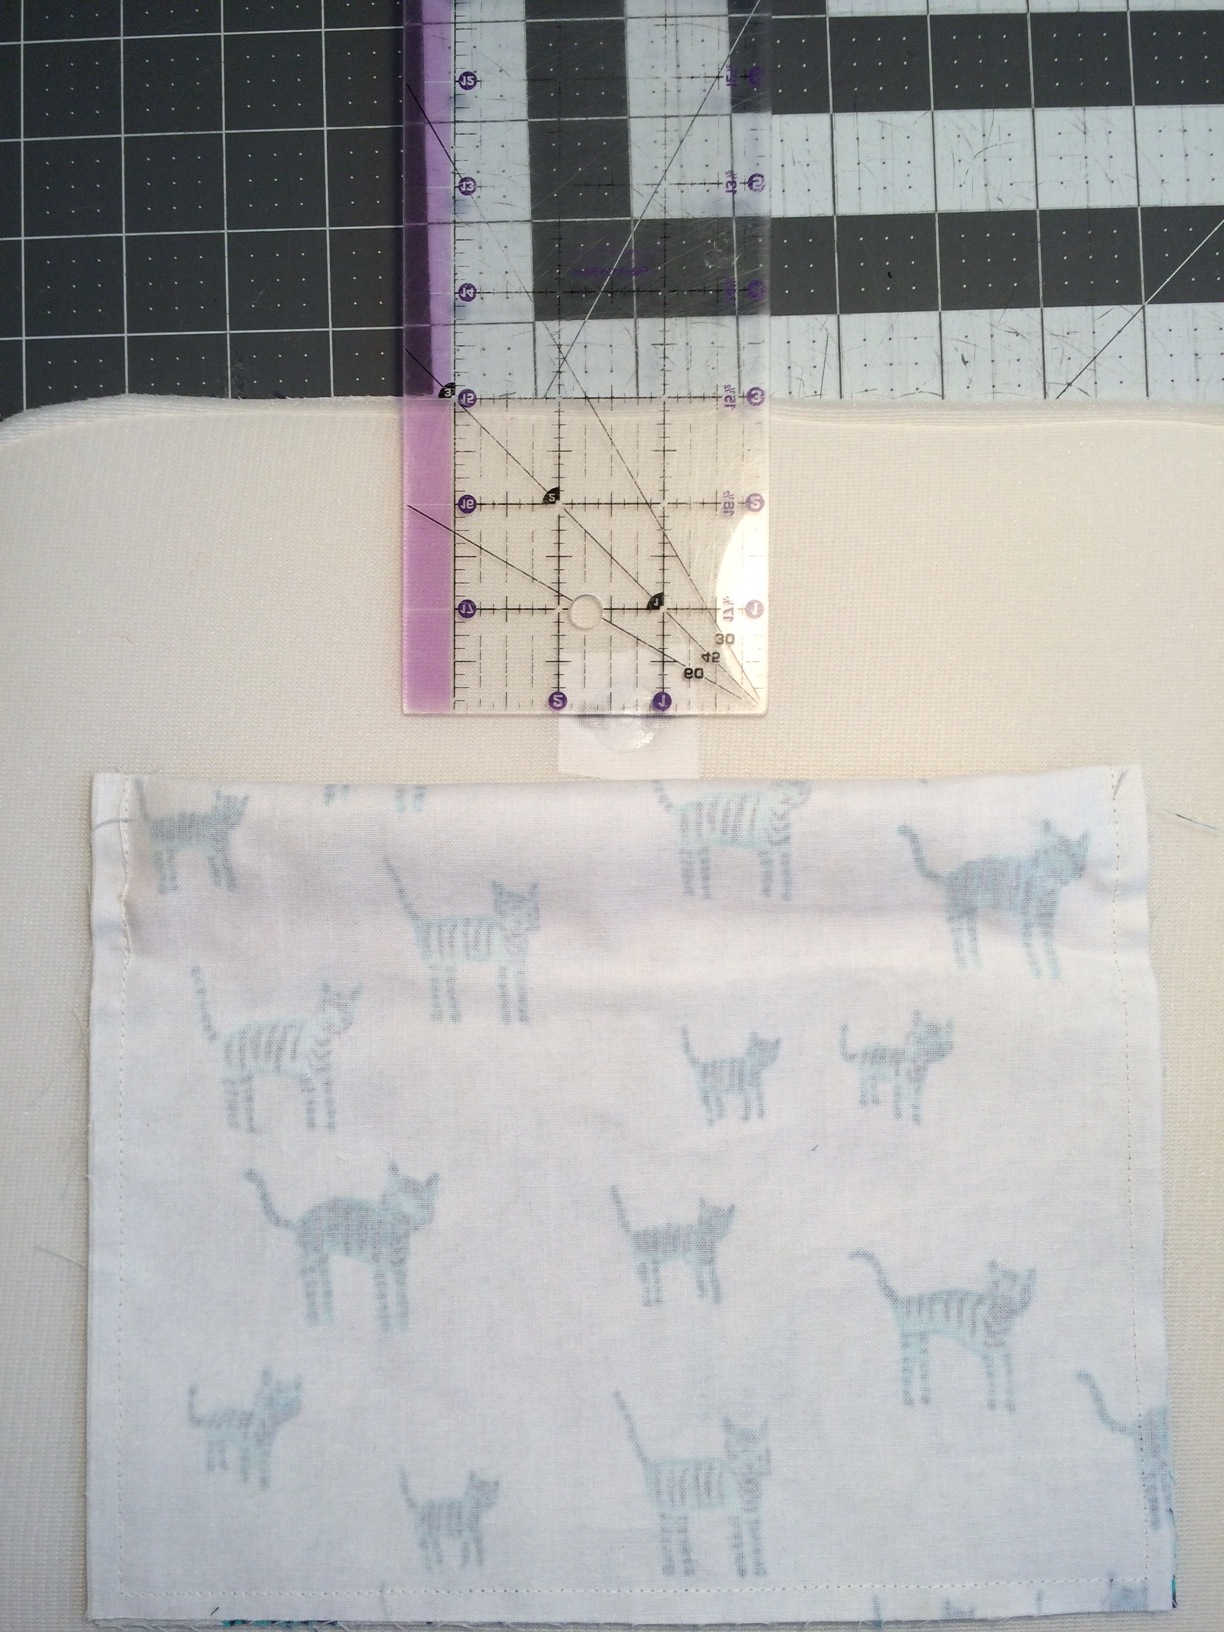 Follow step 31 to finish your back panel. Continue following the pattern until you get to page 12 to "Adding the side tabs". We need to piece our bottom gusset panel together with the gusset sides. Get your gusset pieces from step E. If you haven't fused the interfacing to the bottom accent piece, do so now. Take the bottom accent piece and, using a 1/4" SA, stitch each of the side gusset pieces to the short edge of the base accent piece. Press the seams toward the side gussets and topstitch ~ 1/8" from the base gusset piece. You should now have one long gusset piece that measures 30.5" x 5.5". Take your Peltex and mark its horizontal center. Measure 4.5" from the center on each side and mark a line. Mark a line that is 1.25" in from the long edge to intersect the 4.5" line.
 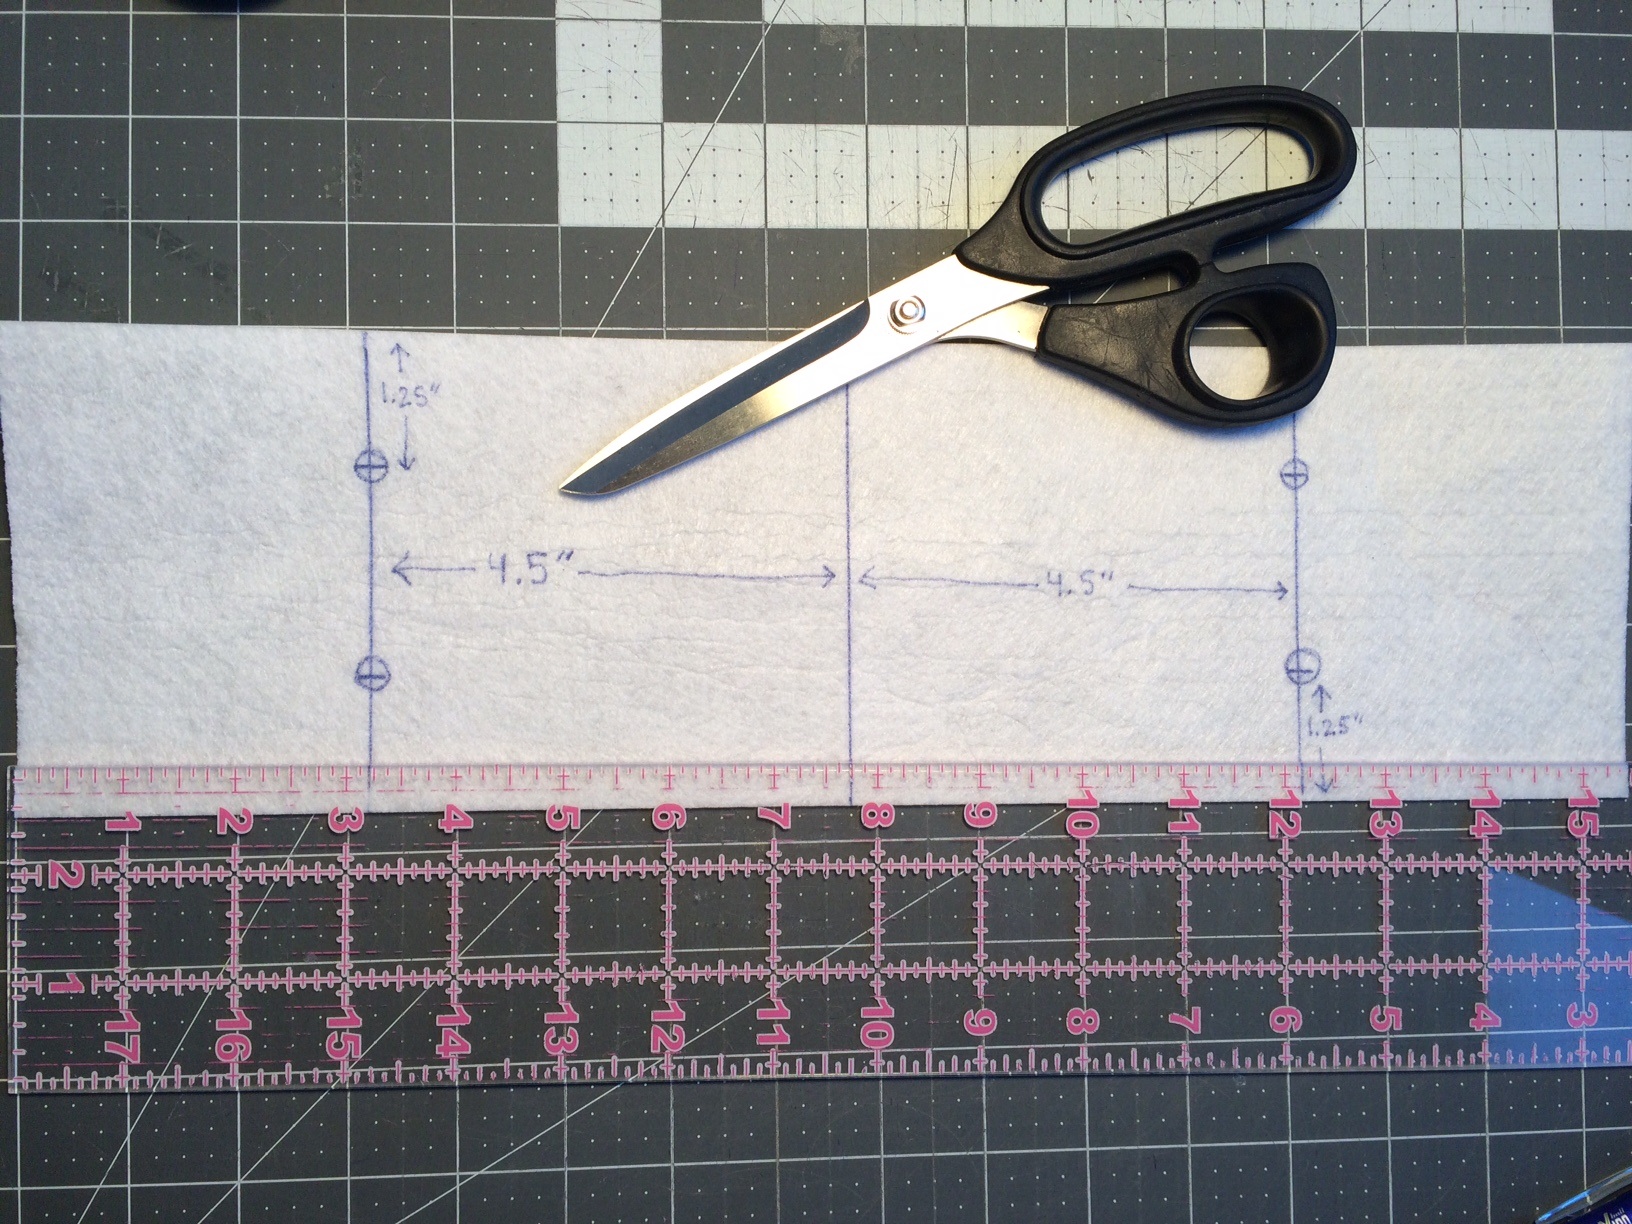 The lines marks that are 4.5" from center and 1.25" from the edges will be the purse feet placement guides.
 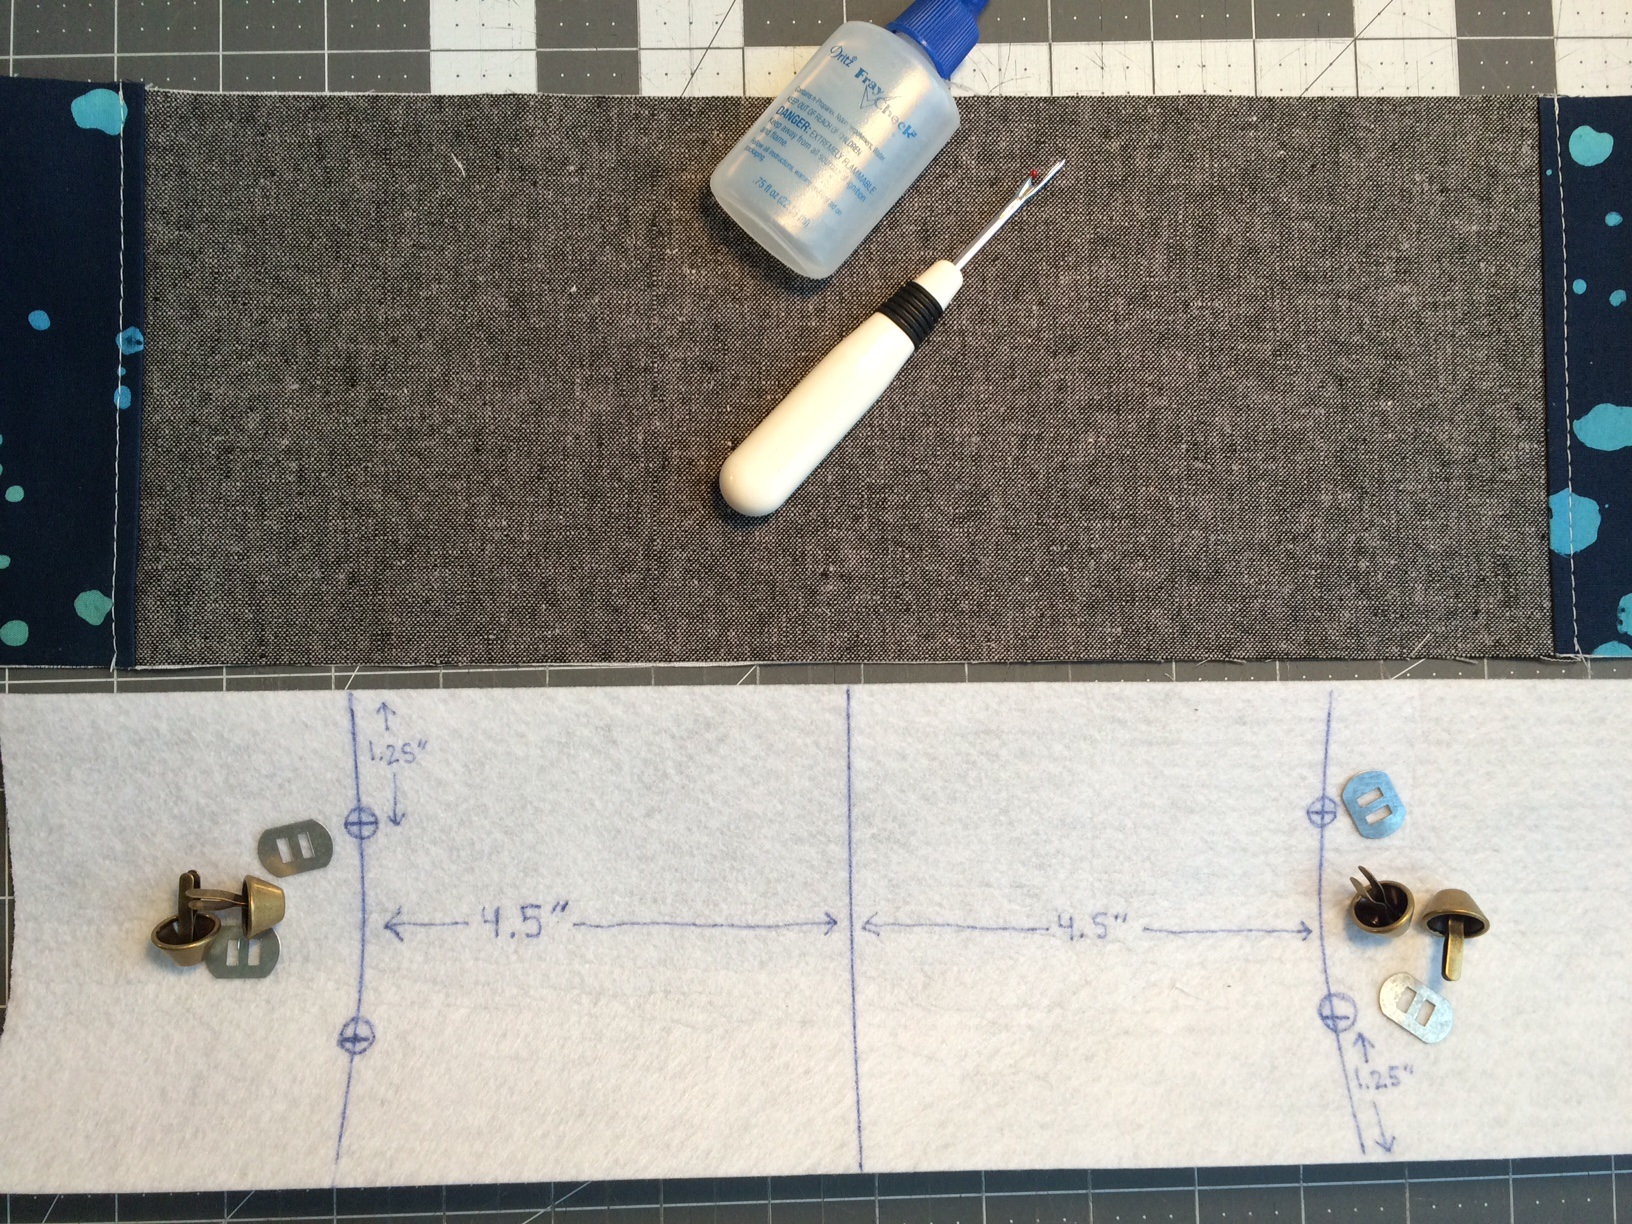 Make a hole in the center of each of the 4 marks on the Peltex so that you can mark the purse feet placement on the wrong side of your base gusset.
 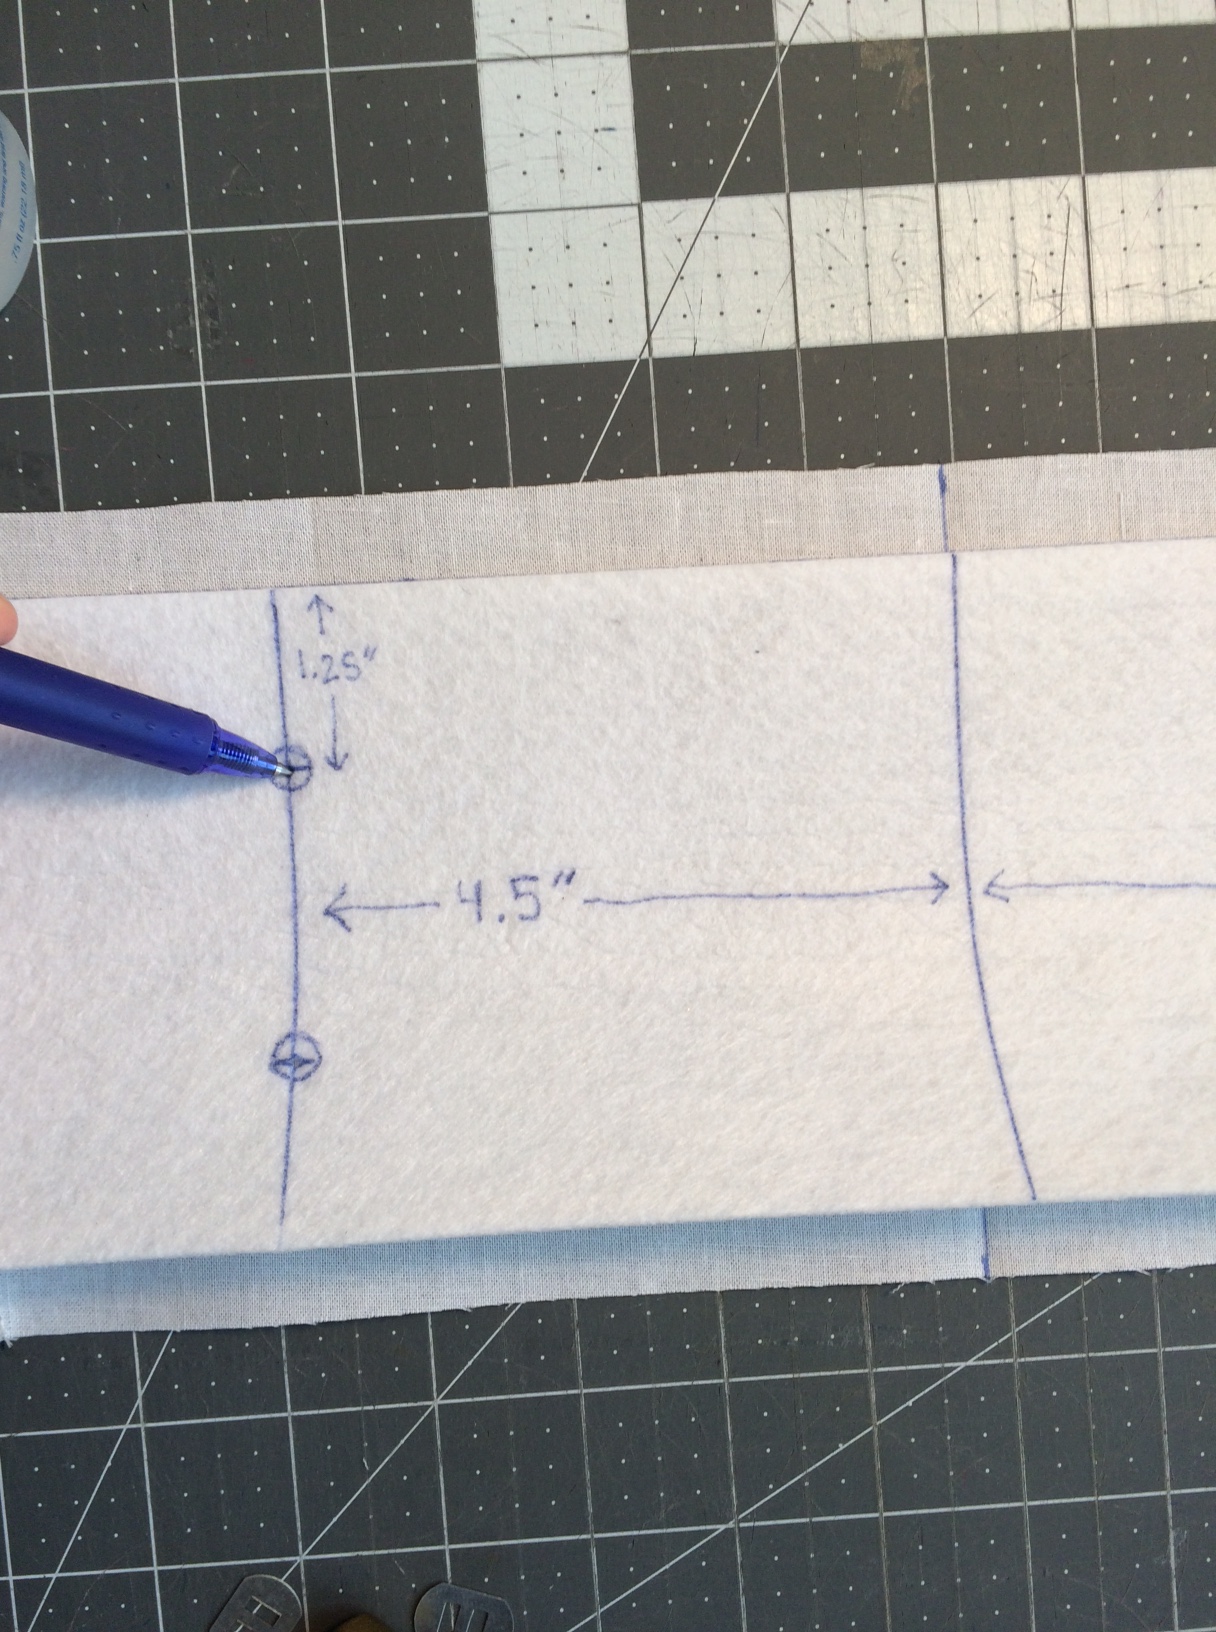 Mark the center of your base gusset on the wrong side and match the Peltex up with its center. The Peltex will be 1/2" in from each side so that it stays out of the SA. After your Peltex is aligned, mark the purse feet placement. After the placement is marked, set the Peltex to the side. Using your seam ripper, cut 4 slits where you marked your purse feet placement. On the right side of the fabric, dab the slits with Fray-Check and insert your purse feet. On the wrong side, dab a bit of Fabri-Tac near the purse feet, this is to hold the Peltex in place. This step is probably not necessary, as the purse feet will probably do well enough to hold the Peltex in place. This is just to prevent any slipping.
 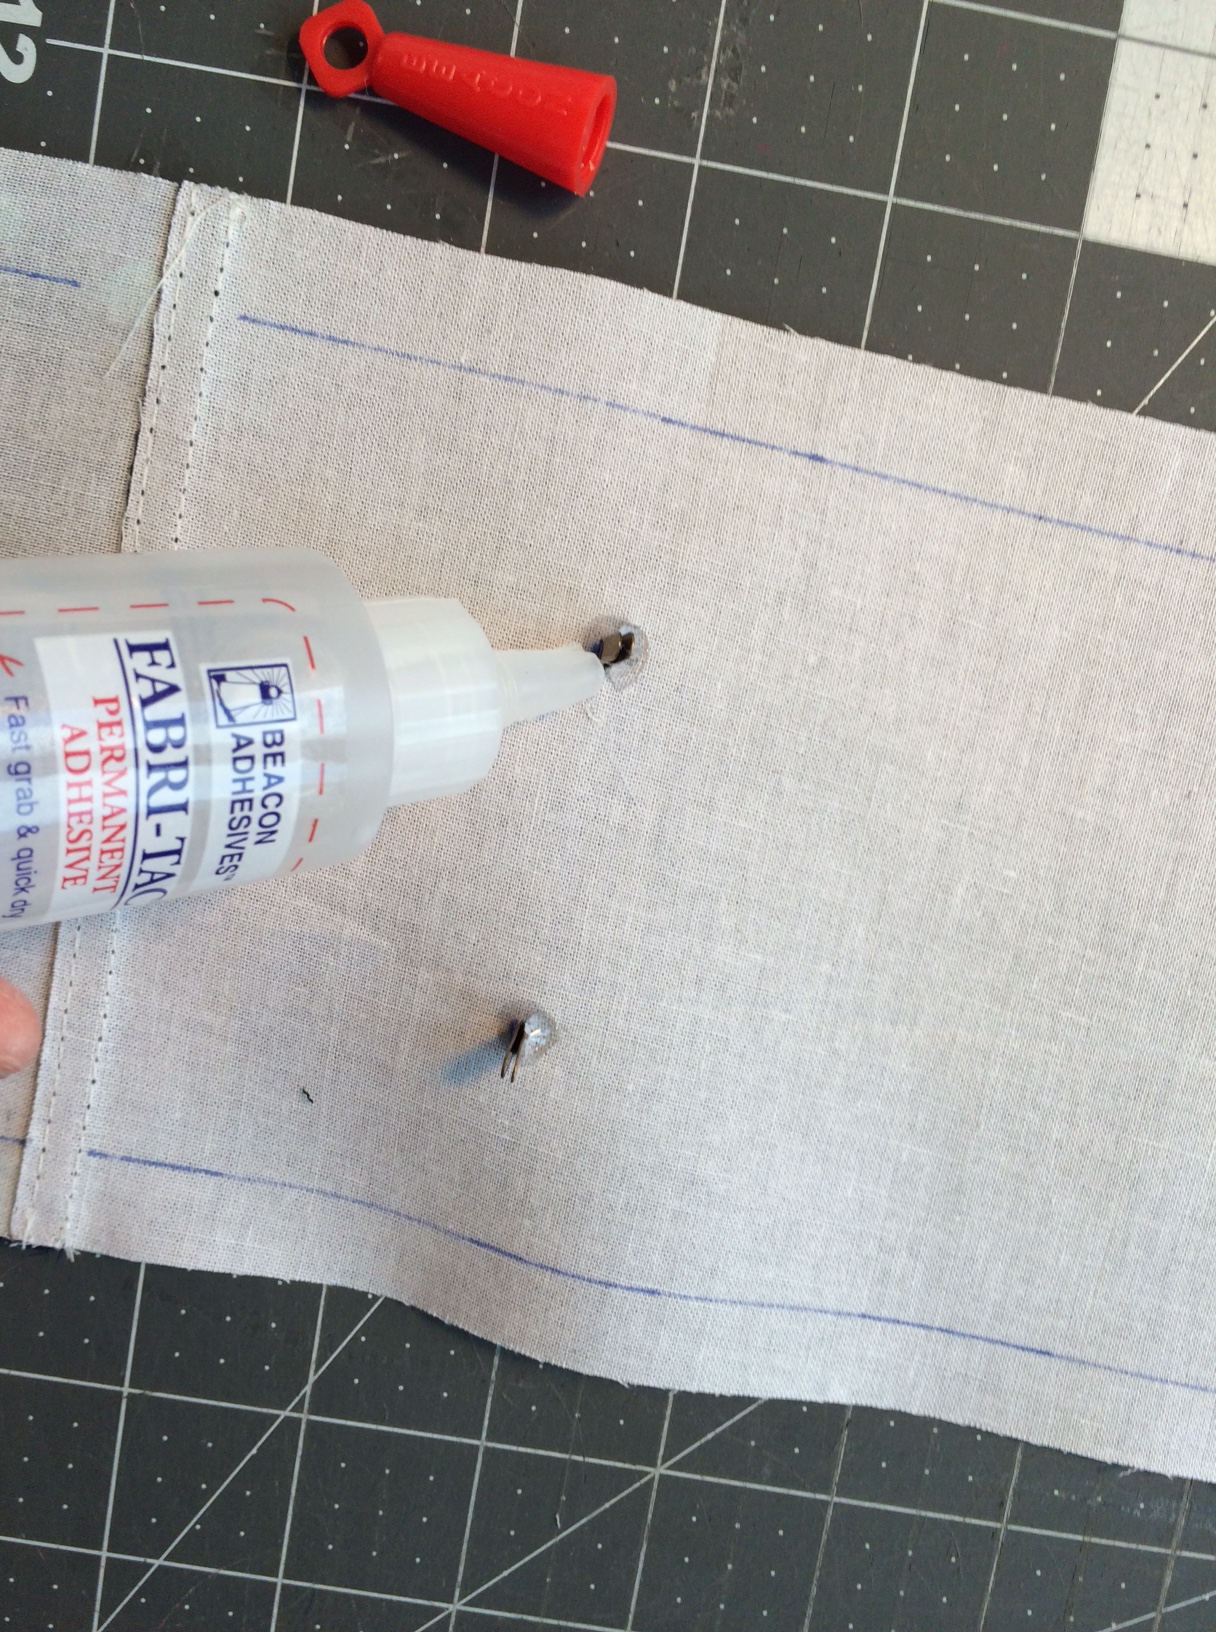 Now push your Peltex down onto the purse feet and secure them. Now that your gusset is constructed, baste your foam interfacing to it. Continue following the rest of the pattern to the end. I hope this tutorial helps you to construct your very own souped-up Nappy Bag. Thanks for reading!
You can see more of Crystal's makes on her Instagram and Facebook page. Pop over and like them, I promise you'll find lots of eye candy over on The Cloth Albatross!


