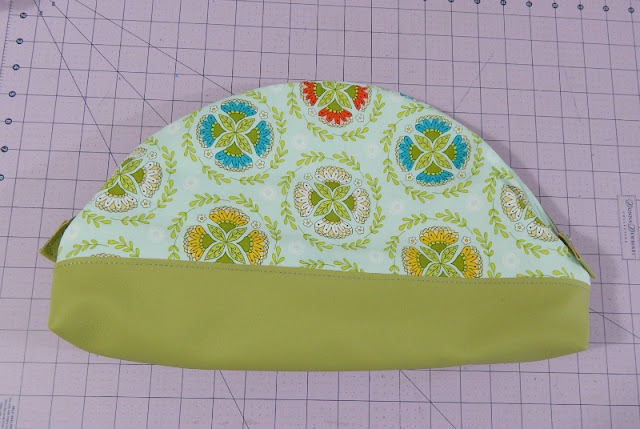
Quick and Easy Dustbag tutorial for your handmade creations. Protect your bags in style by Mrs H.
Hello lovelies,
I always keep my cover bags and samples so that they're available for me to double check any questions or queries by makers after the pattern has released....but a big pile of finished bags is really starting to cramp my style, so it was time to do something about it!
I have tried hanging them on hooks in the studio, which is lovely to see them all displayed, but they can get dusty, and the sun comes in the studio window all day, and I didn't want them to fade from sun exposure. So super quick dust bags was the answer!
I'm going to demonstrate on a bag for the Pampering Pouch, but I'll show you how to calculate your sizes for the bag you want to protect.
First up I laid the empty bag down flat to measure. You want a bit of wiggle room, so be slightly generous on your measuring. I measured my pouch to be 16"W x 10" H x 4" D. I want an extra inch on both the top and bottom, and each side, so will add two inches in total to each measurement.
My basic measurements now are 18" x 12".
But I want it to be 5" deep. Because I'm going to do boxed corners, half the depth will need to go on each side, both on the height, and on the width.
I want a 5" depth. Divide that in two and add to both basic measurements.
I'll cut my fabric 20.5" x 14.5".
For those of you who like equations
(Finished Width + Wiggle Room+ Half Depth) by (Finished Depth Height + Wiggle Room + Half Depth)
I used plain undyed Calico and zips and webbing that I had in my stash (in a bid to be thrifty!). I happened to have a 20" zip in my stash, but continuous zipper is perfect for this task!
If you want to be doubly sure that there is no danger of colour bleed in case of rain, or spilled water, then I'd recommend using white zips and undyed webbing handles.
I cut two pieces of calico 20.5" x 14.5" and serged the edges. If you haven't got a serger, then a zig zag stitch works just as well.
I started by laying the zip face down and stitching at 1/4" seam allowance along the top edge.
I turned the zip back and pressed really well, then top stitched to keep the zip tape away from the teeth.
Next I laid the zip face down on the second piece of calico to sew in the same way.
I top stitched the second side of the zip again, just to keep it out of the way of the zip when in use.
Next up I added a length of webbing as a handle. I want to be able to carry these dust bags on my shoulder, in bulk, so I used 24" of webbing to be sure it's long enough. For storage only, I'd use a much shorter length, just to be able to use as a grab handle.
I used cotton webbing, so sealed the cut ends with Fabri-Tac and positioned it on the side edge, lining up the cut end with the side edge of the calico. I made sure there was 3.5" between the two sides of the handle to allow room for it to sit on my shoulder comfortably. For a grab handle you could go nearer.
One the handle is basted into place, turn the pouch so that the outer sides are facing and then clip down the edges. Wait.... unclip, go back and unzip the zip and then reclip!
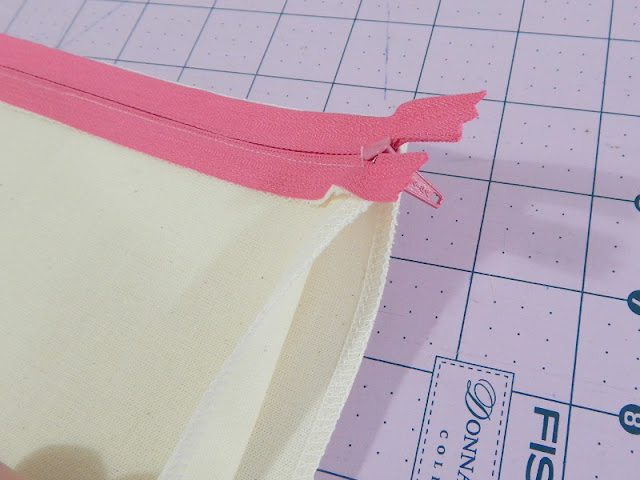
Sew around all three sides and then trim the corners by the zips. To get a nice finish on the end, I made sure that my zip tapes were facing down as shown below, and the zip teeth were sitting proud. I trimmed the corners of my zips as shown to reduce bulk.
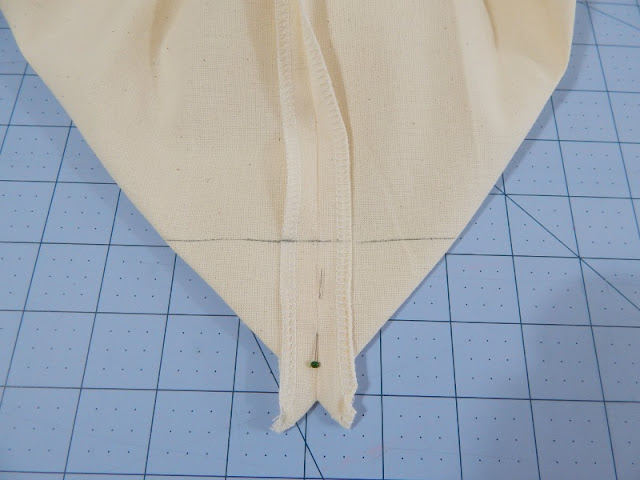
Next up it's time to box the corners. I added enough for 5" minus seam allowance, so flattened the bottom corners, then drew a line at 4 1/4". I stitched across the line, trimmed the point of the corner, and then finished the seam using a zig zag stitch.
That's it, all that's left to do is to add a hanging tag identifying what's inside and they're ready to store (under my cutting table if anyone's interested...)
I made some tags using my Janome 6600P embroidery stitches and on the reverse side I used the selvedges from the bags inside. This way I can see at a glance which bag is inside, and if anyone wants information on what fabrics I've used, I always have them to hand!
I've got a tutorial on the tags coming up, so keep an eye out for that.
These bags are perfect for my needs as a designer holding on to samples, but for those of you who sell your handcrafted bags, I'd encourage you to consider offering dust bags with them. It makes your goods really high end, and adds an extra touch of 'designer' to them. I had a high end bag once, and the thing that made me feel super posh was that it came with a dust bag!


